Tag: film

Nikon F2 troubleshooting

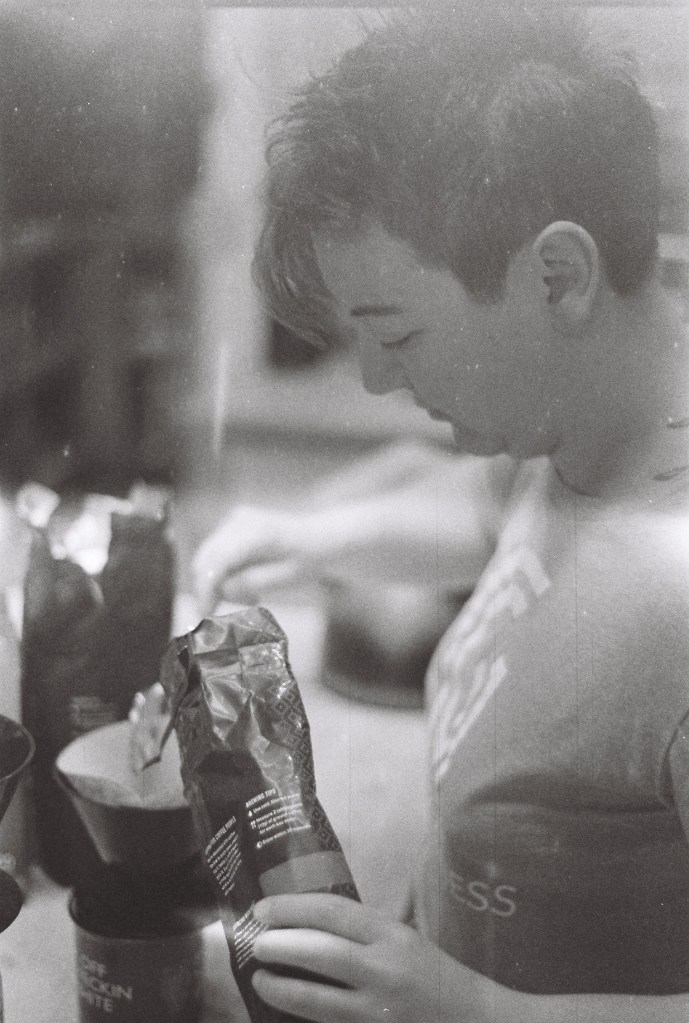
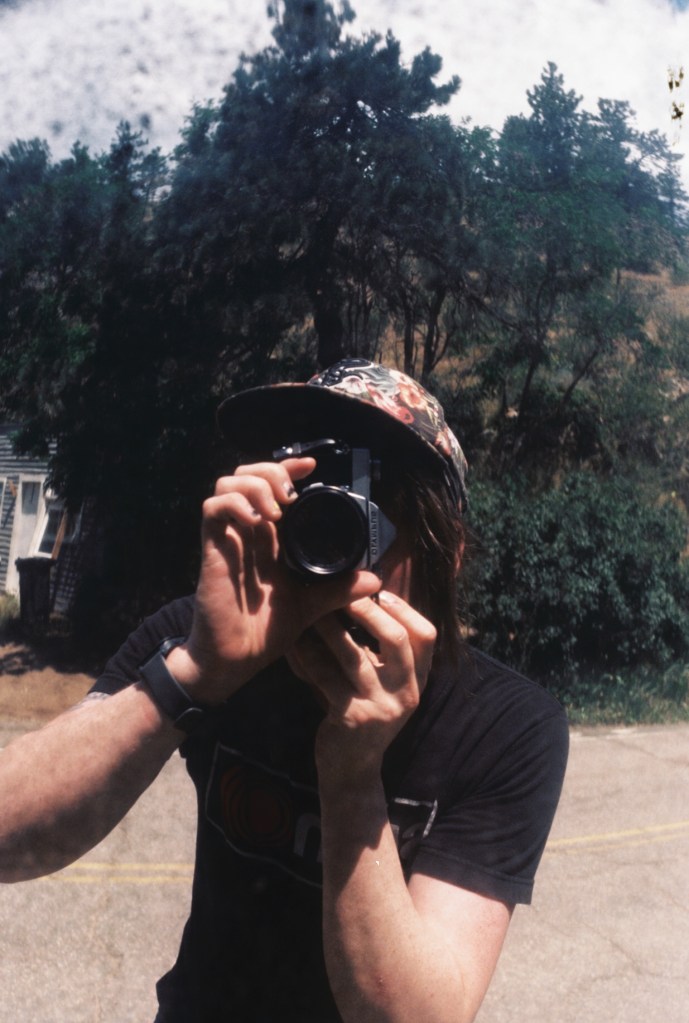
I recently got engaged and received a Nikon F2 (and many lenses) from my boss as an engagement gift. I was ecstatic! To have such a beautiful piece of kit in the collection was a wonderful feeling, and I couldn’t wait to start shooting with it.

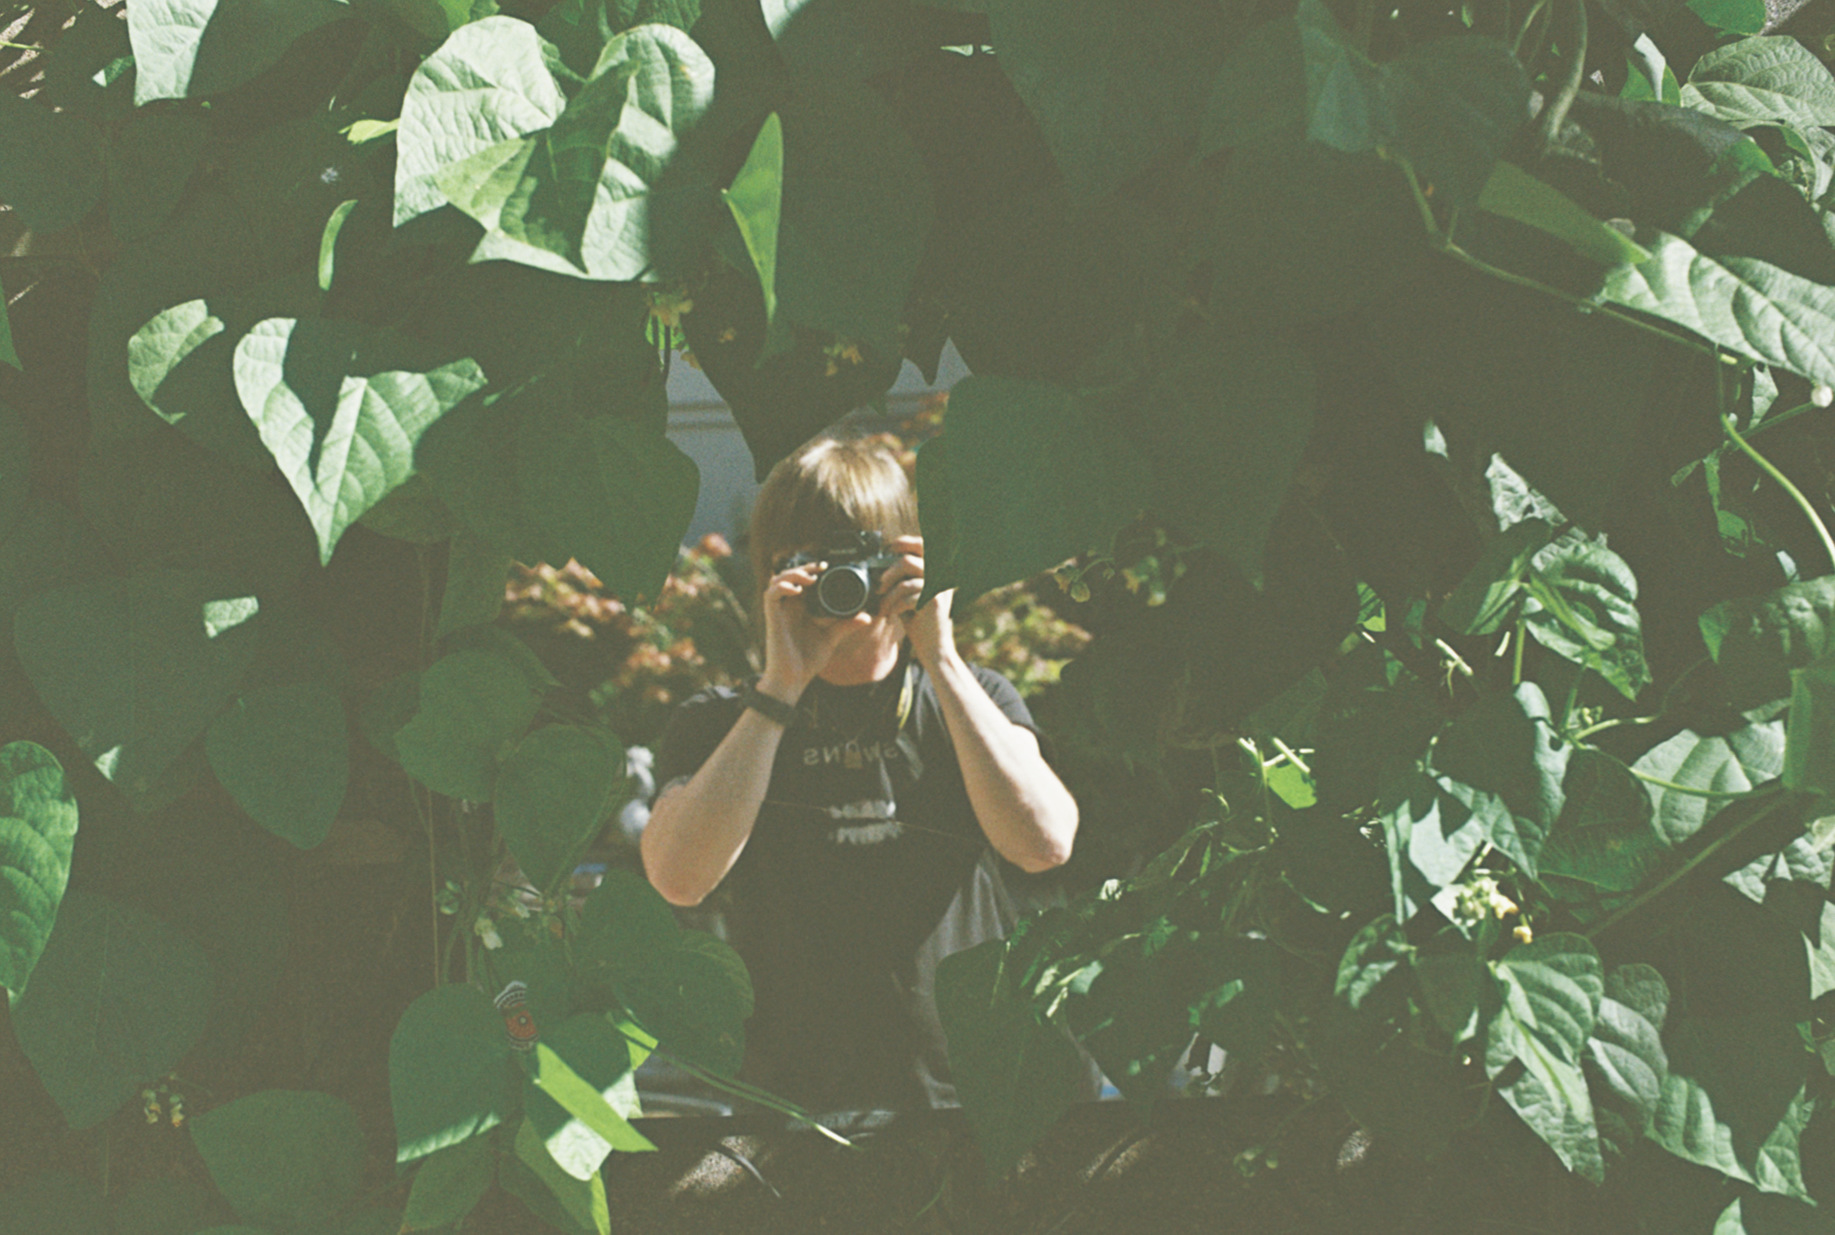
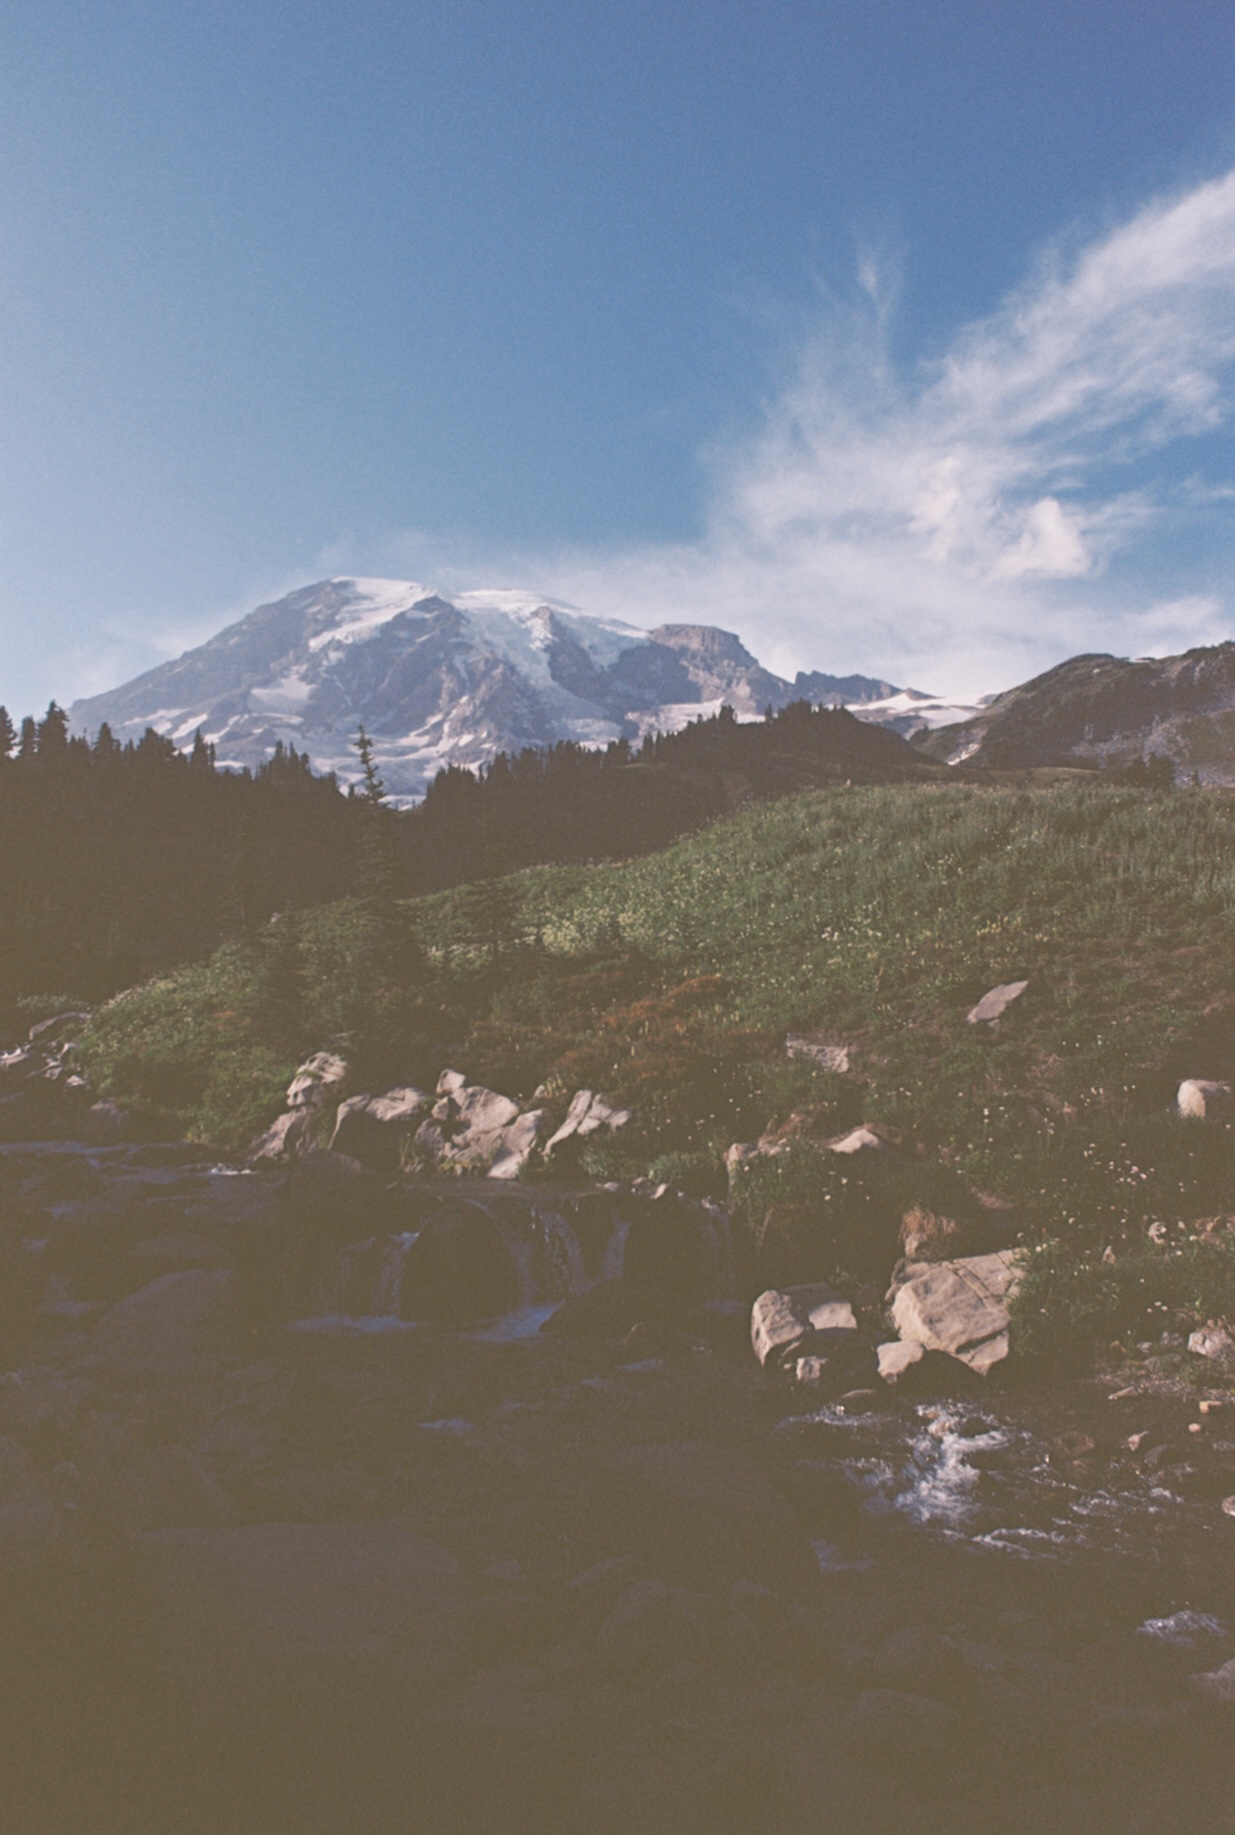
To celebrate, my fiance and I loaded Ilford HP5 400 and took many shots on the last day of our engagement trip. Shortly after our trip, we had a vacation to Seattle planned, as well as the local national parks up that way, so we didn’t hesitate to bring the F2 along for some photography. After our vacations, we developed a total of 4 rolls of film: 2 rolls of Fujifilm 400, 1 roll of Ektar (containing beautiful images of wildflowers from Mt. Rainier), and the Ilford HP5. We patiently waited to see our professional images.

The results were…. bad. In fairness, both of us exclusively shot on the OM-1N prior to receiving the F2, so there was a bit of a learning curve for all aspects of the camera (ie. loading/unloading the film, how to change the iso, how to use the f-stop preview, double exposures, etc.). Our images reflect these nuances, and while we did get some pretty cool images, the majority of them were garbage. I’ve been furiously researching what could have gone wrong, to no avail. So, here I document all of the weird things we encountered, in an effort to hone in on how to fix this thing (if its not just user-error). The purpose of this entry is for me to think about the camera in a more elegant way to hopefully land on a solution by the end of writing this.

Wavy artifacts

The first issue I noticed was a wavy/warbly ‘light leak’ that was apparent on only about 8 images or so out of 36. All of the affected shots were at the end of the roll of film, with earlier shots being totally preserved. They looked something like this:

This artifact really bothered me, but it also produced a very strange texture that actually complements some of the images (depending on the subject of course). At first, I thought that there was something deeply wrong with the camera and felt my heart sink. After scanning the internet and playing around for a few days, however, I found that this is an easily explained phenomena due to film stress. When I unloaded this roll of film, the leader actually got stuck in the winder. I tried to gently shake it free by retracting it, but became increasingly forceful to retrieve the film. I actually read later, that film getting stuck in F2’s is a relatively common problem, and next time I will just leave the leader out and chop it off with scissors or something. Ultimately, I can definitively say that this was the cause of these artifacts, however, so we can ignore this first phenomena as we continue to diagnose.

Underexposure

Now we can get into the meat and potatoes of the issues with the camera. I noticed that practically every image I took while in Seattle was underexposed. We primarily were using fujifilm 400 for the trip, and Seattle was unusually sunny during our visit. As such, a lot of the shots I took were at very low shutter speeds (1/1000 or less), and at higher f-stops to gate out as much light as possible. In hindsight, we should have gone for an ISO 200 film, but live and learn. The prints were as follows:

While certainly salvageable (at least some of them), the shots are seriously underexposed. This phenomena I encountered both indoors and outside. The light-meter battery appears to be good, and the images were generated with proper light metering. As a result, there are a few things that could be causing the discrepancy. The first could be that I am an idiot and did not adjust ISO. This is almost certainly not the case, especially since the film I had loaded previously was Ilford HP5, which is the same ISO. The second most likely problem could be an issue with the light meter. Perhaps its mis-calibrated, or the battery is dying after all (despite testing ok). The third reason could be the different type of light meter. The OM-1N meters from a much bigger center-region of the image, as well as takes into account light in the field of view. The F2’s meter is more precise, but only reads light from a smaller central region of the viewfinder. It’s possible that my experiences shooting on the OM-1N are not as transferable as shooting on the Nikon, and I need to be more fastidious about metering light on the F2. The last scenario I can think of is a poorly calibrated shutter speed, where the faster shutter speeds go too fast, causing less light than predicted through the shutter. I already am planning further testing for this using my DAW to determine how fast the shutter is firing.

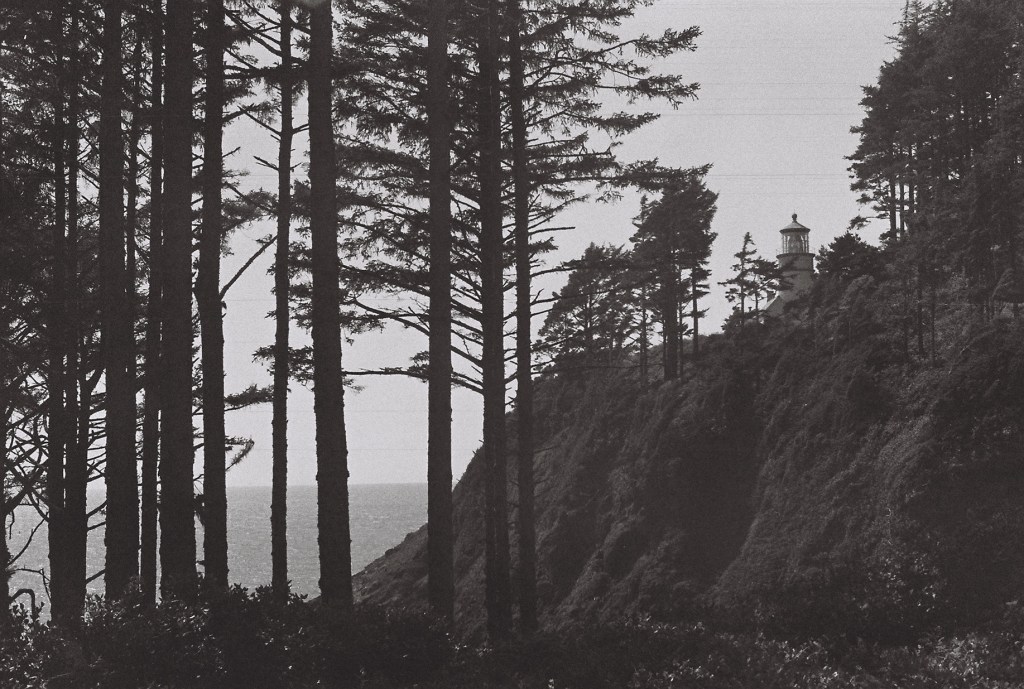
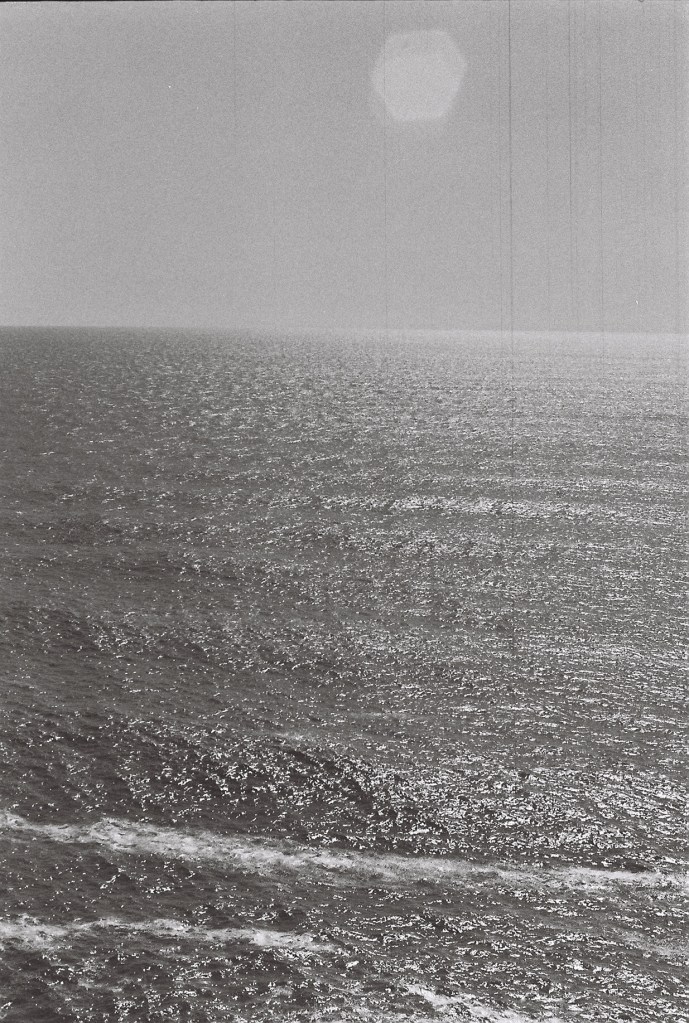
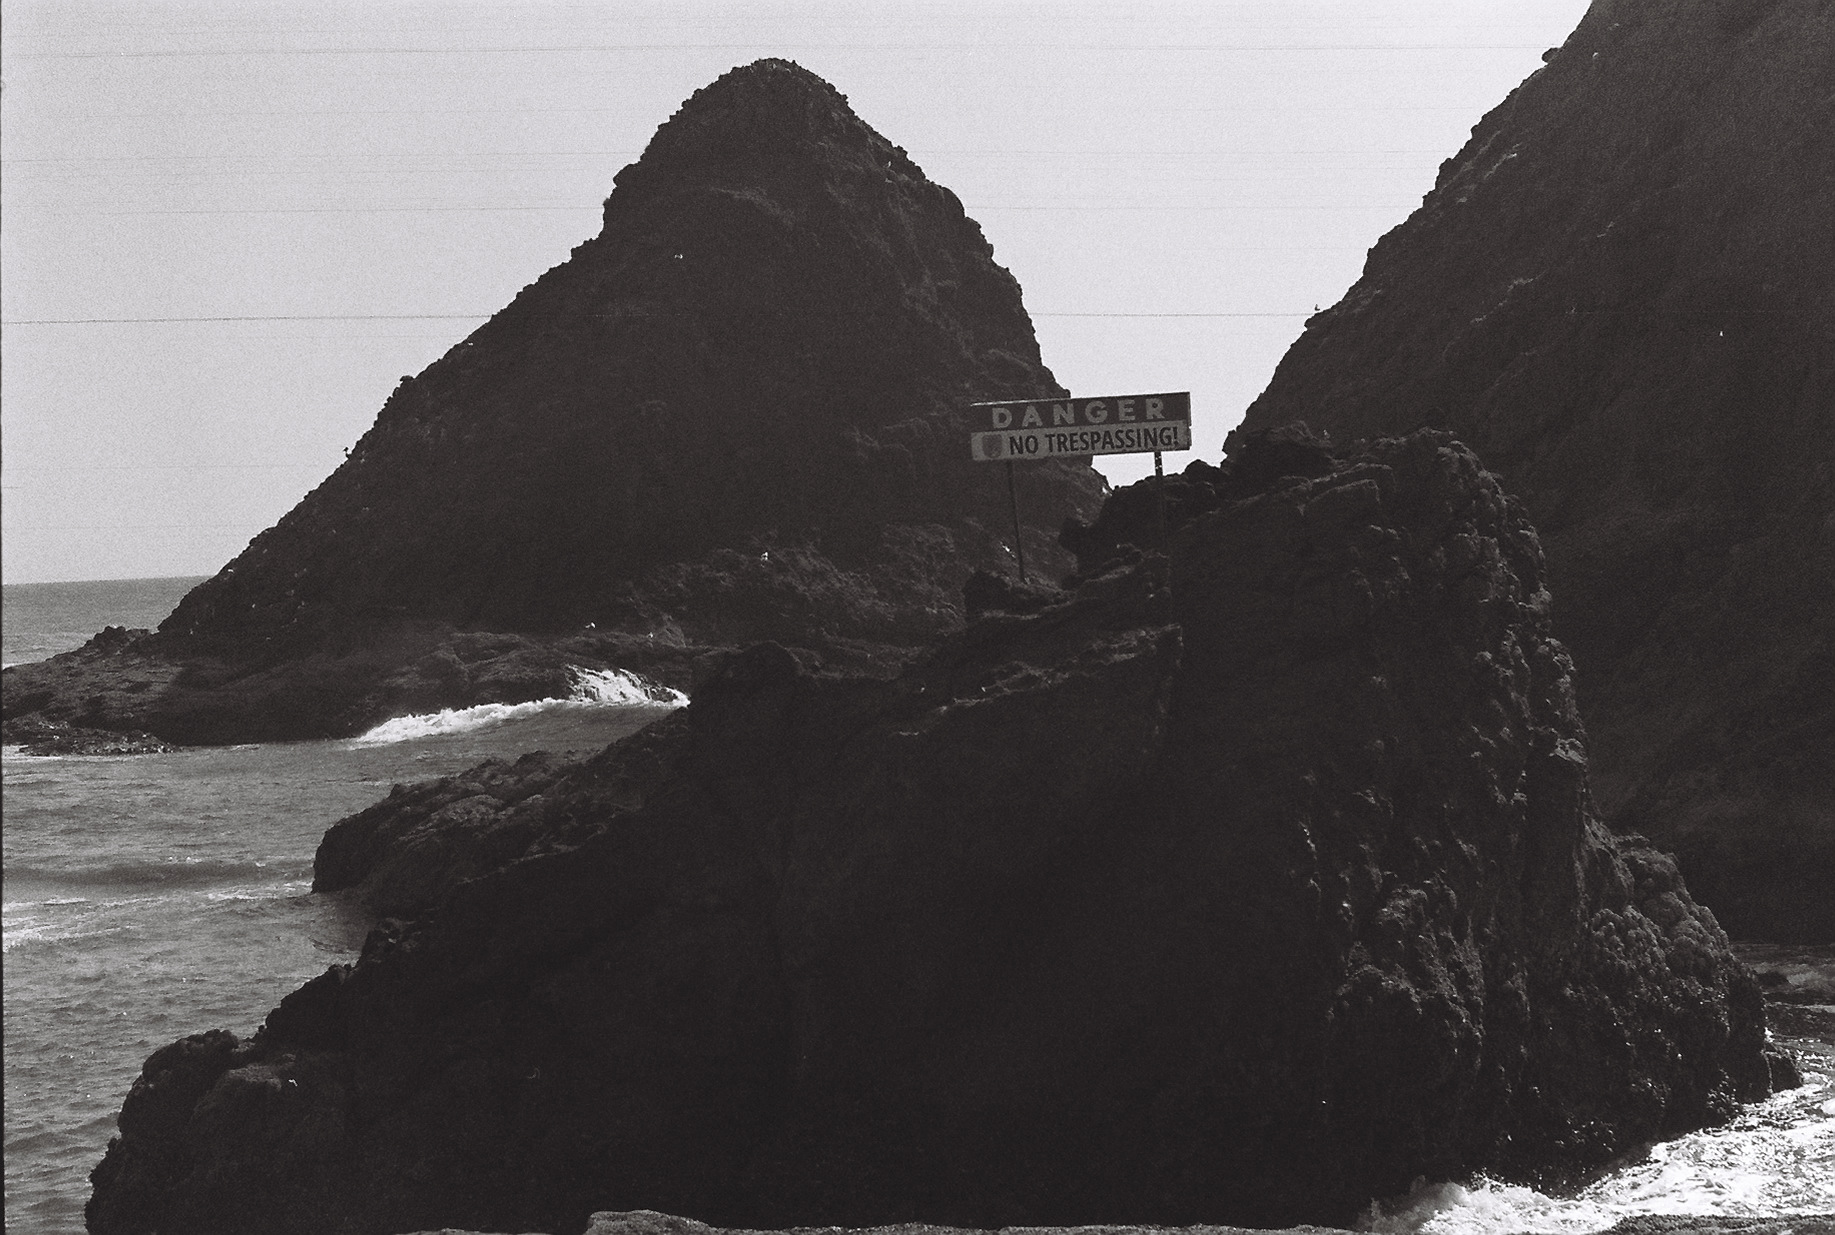
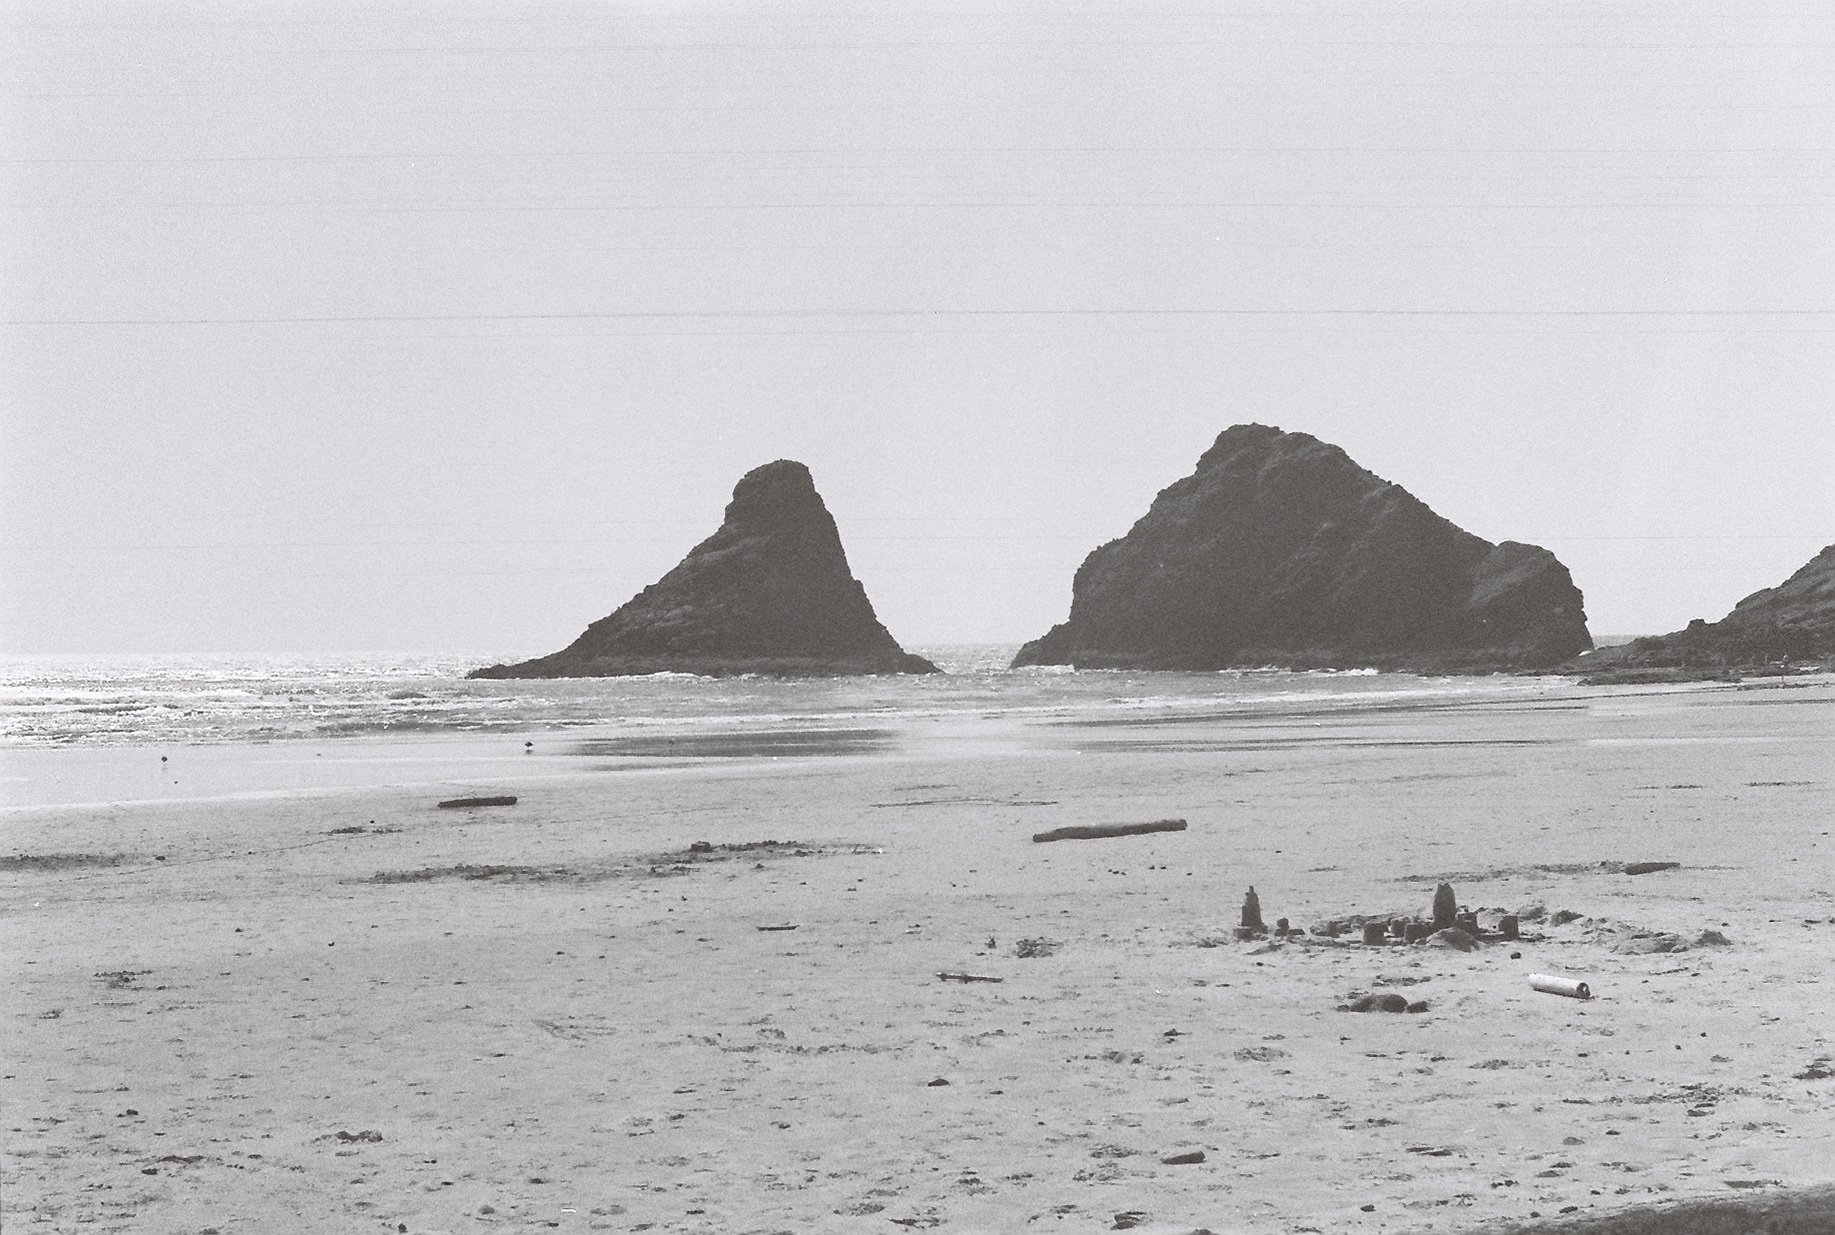
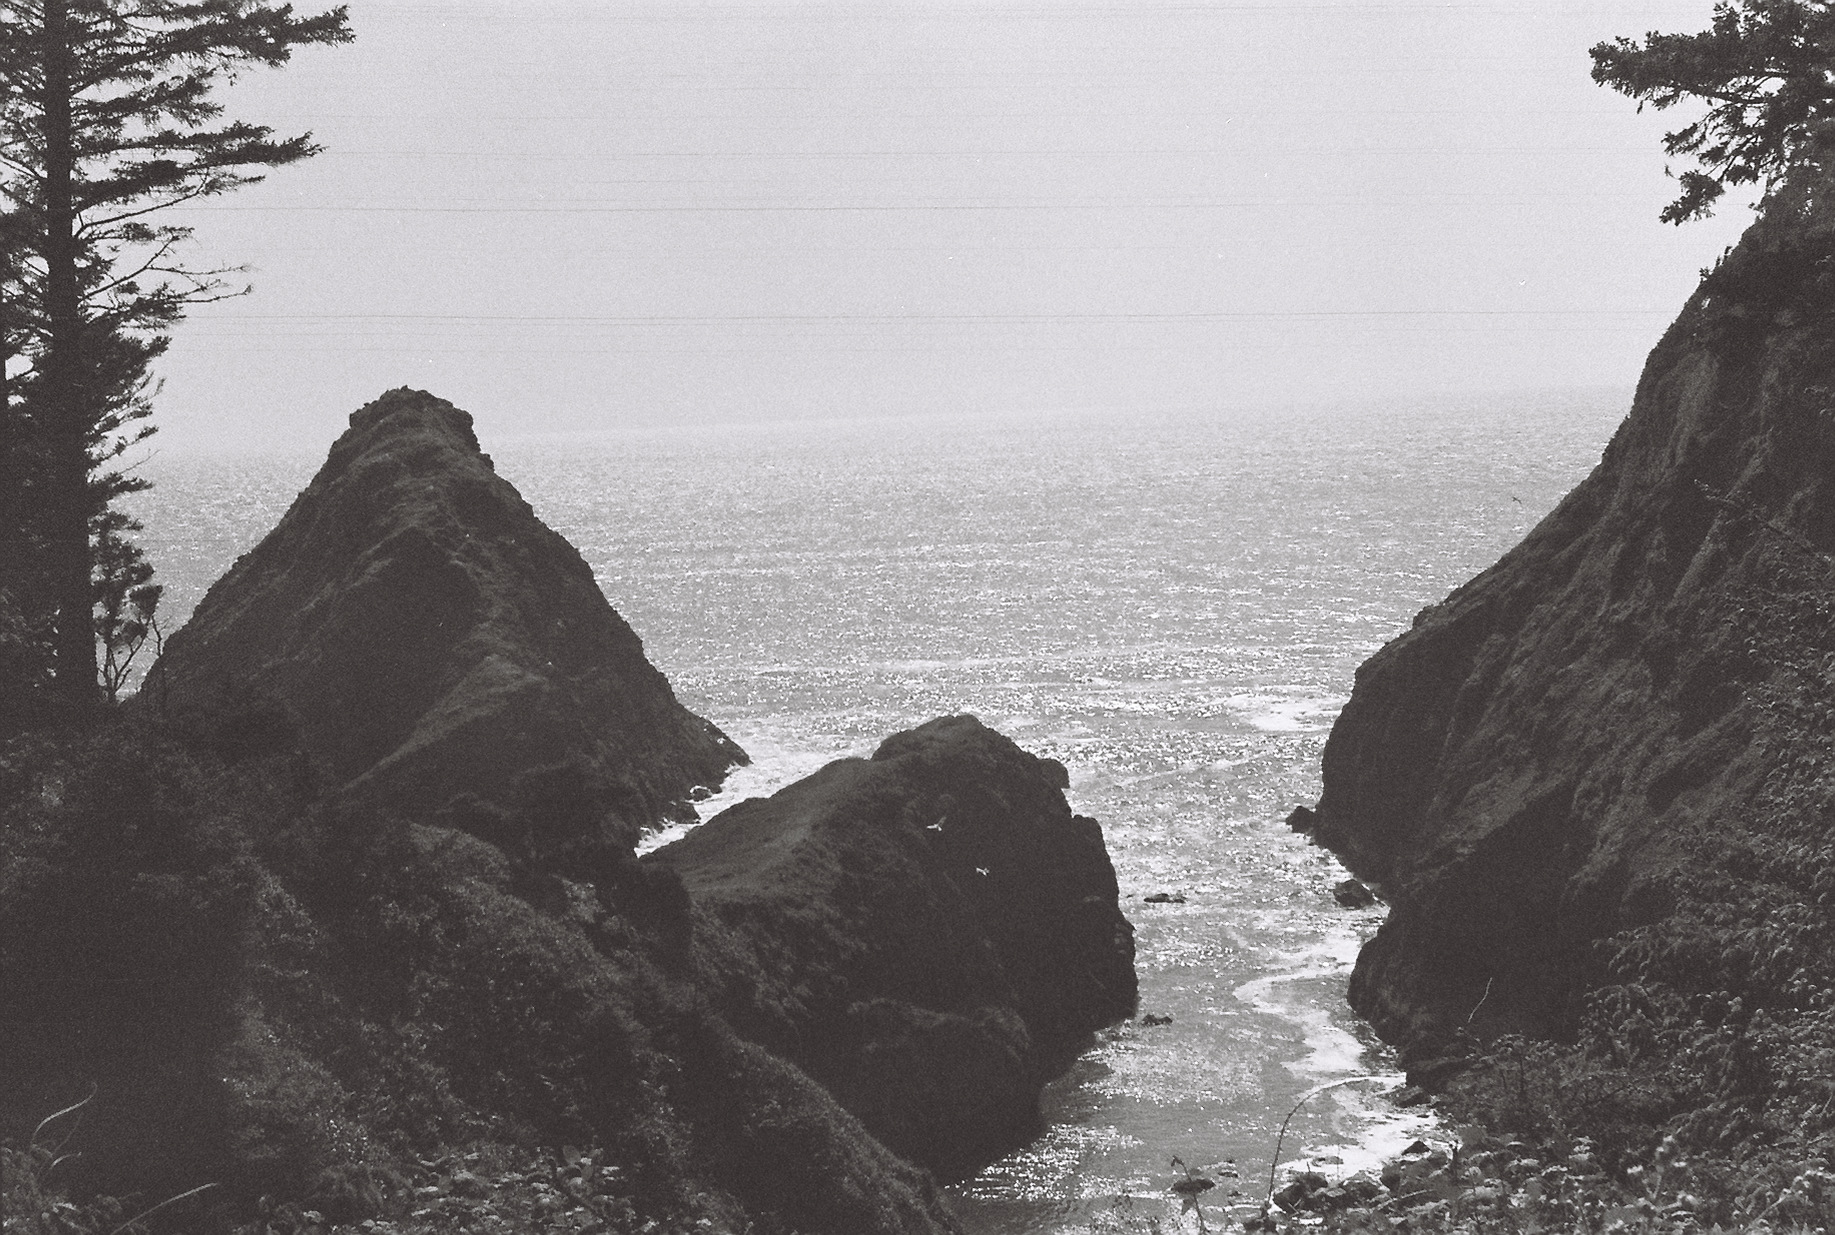
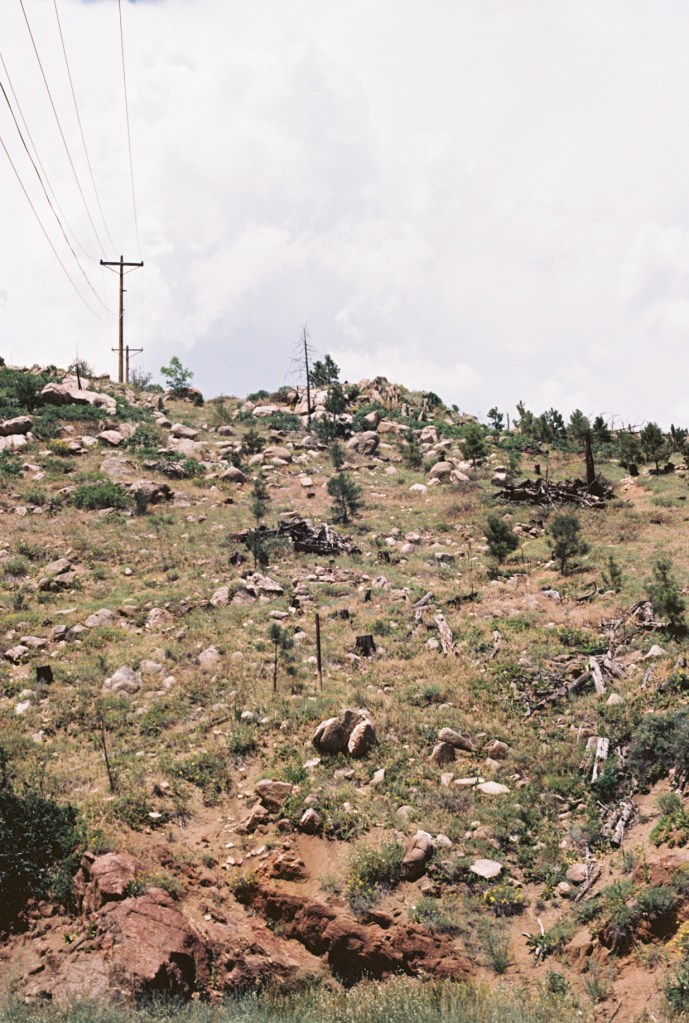
While this underexposure problem totally ruined a bunch of my shots, my fiance and I went on a very strange hike off of the coast of the Olympics. The day was really overcast and the abandoned coastline felt very liminal to both of us. The shots I took off the coast were very underexposed, but it added a mysterious, evil haze to every image I took. I’m sure some work in photoshop can make these prints haunting.

Honestly, the area felt how these images look. By the end of our hike, the tide was coming in and both of us were very eager to leave that stretch of coastline.

‘Light leaks’ to the north

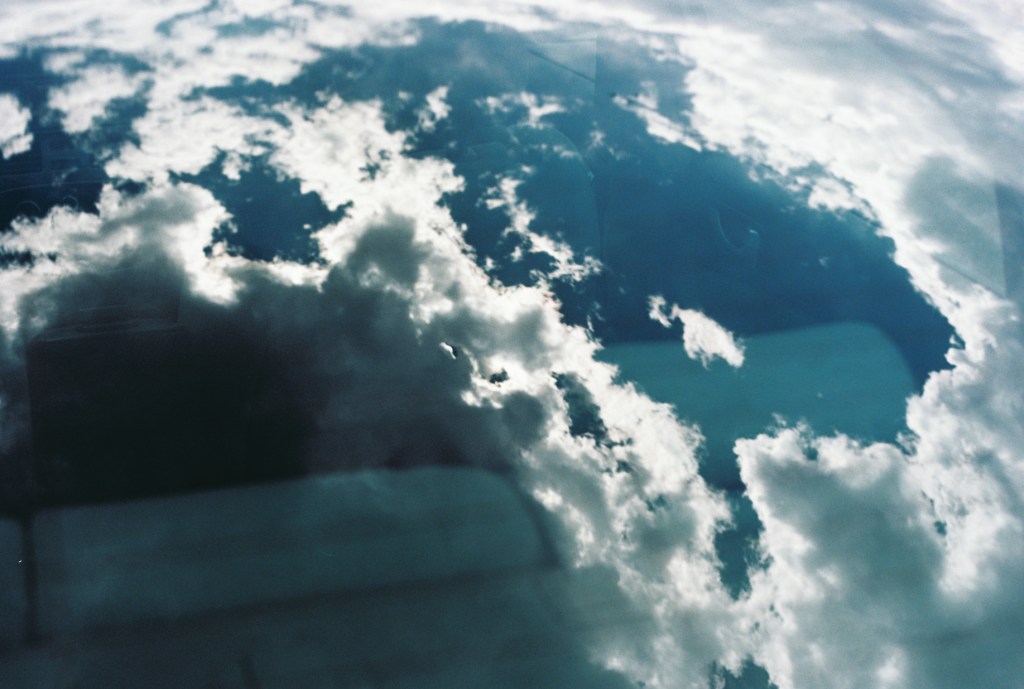
Another annoying artifact that cropped up was a very pronounced light leak towards the top of each print.

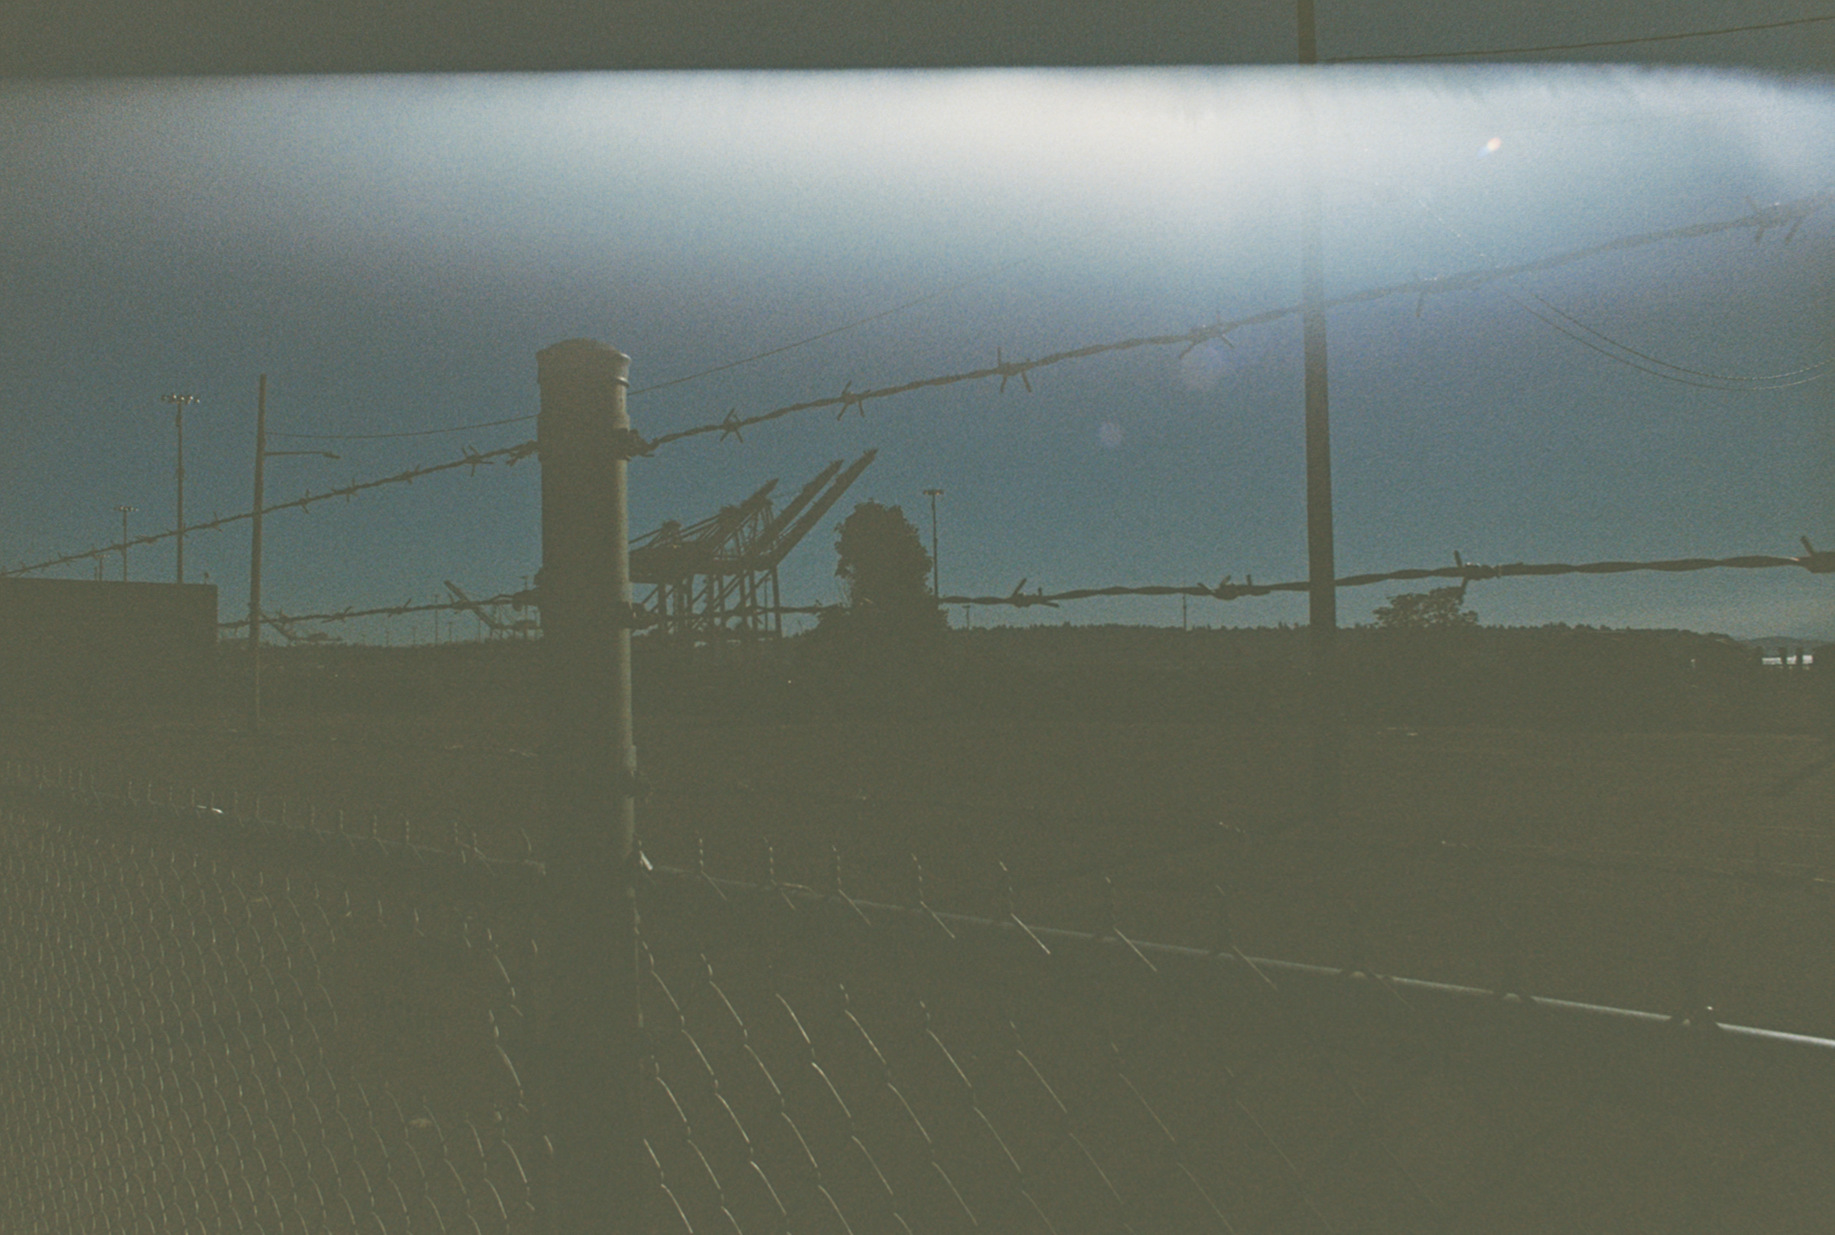
I have two theories about the cause of this:

  1. One of the curtains is firing too fast, causing underexposure, as well as artifacts streaking horizontally across the frame. I’m no expert on F2s but the shutter is horizontal, so this theory may actually be invalid.
  2. There is a light leak in the film door
  3. The film door was not properly locked.

Hard to say which of the above occurred. I am leaning towards 2 or 3 though. At first I thought I was getting light shutter capping, but then I decided that the abberation is too angular. Plus, above the light leak the color/brightness matches beneath it. If this were a shutter problem, it should fade to black. Ultimately, this may have been an issue with loading the film properly.
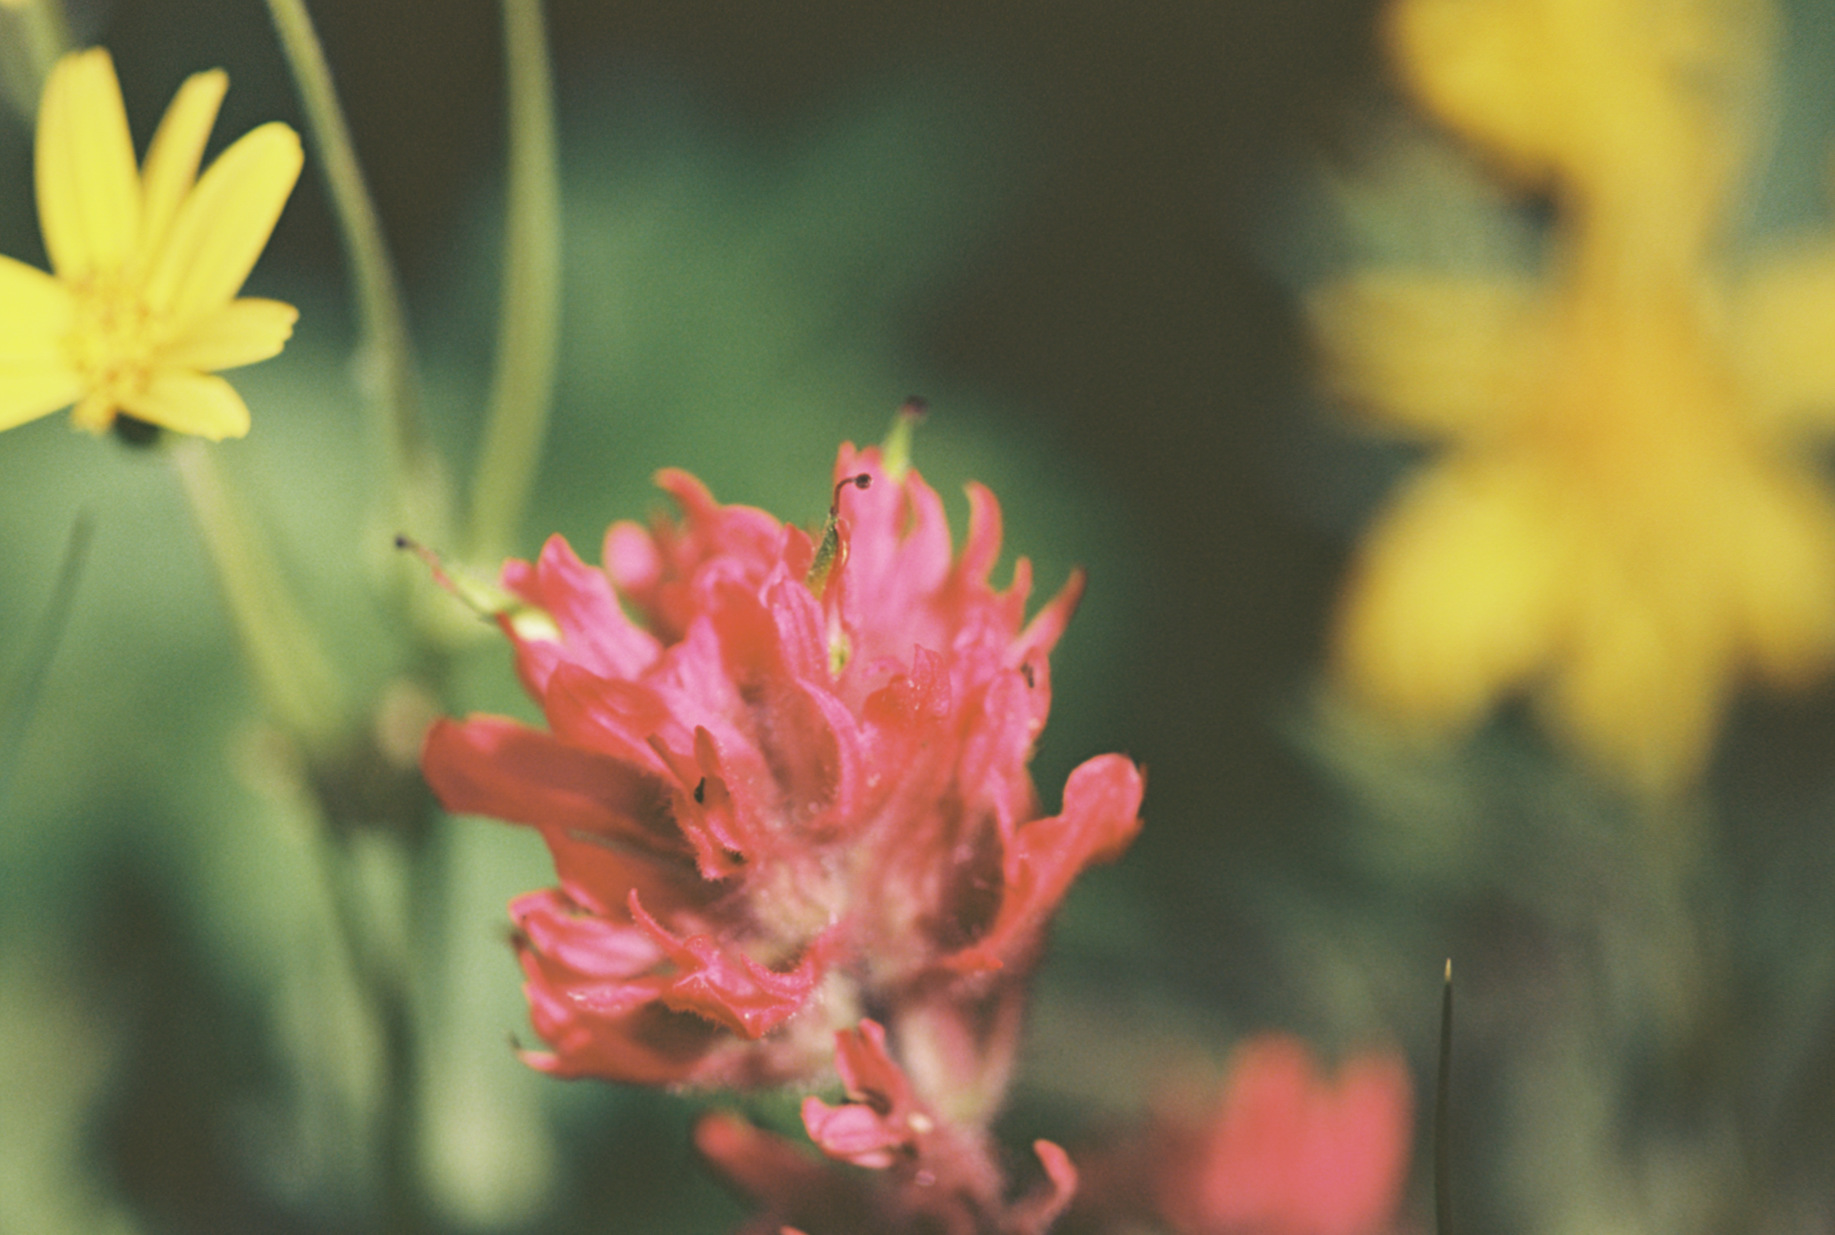
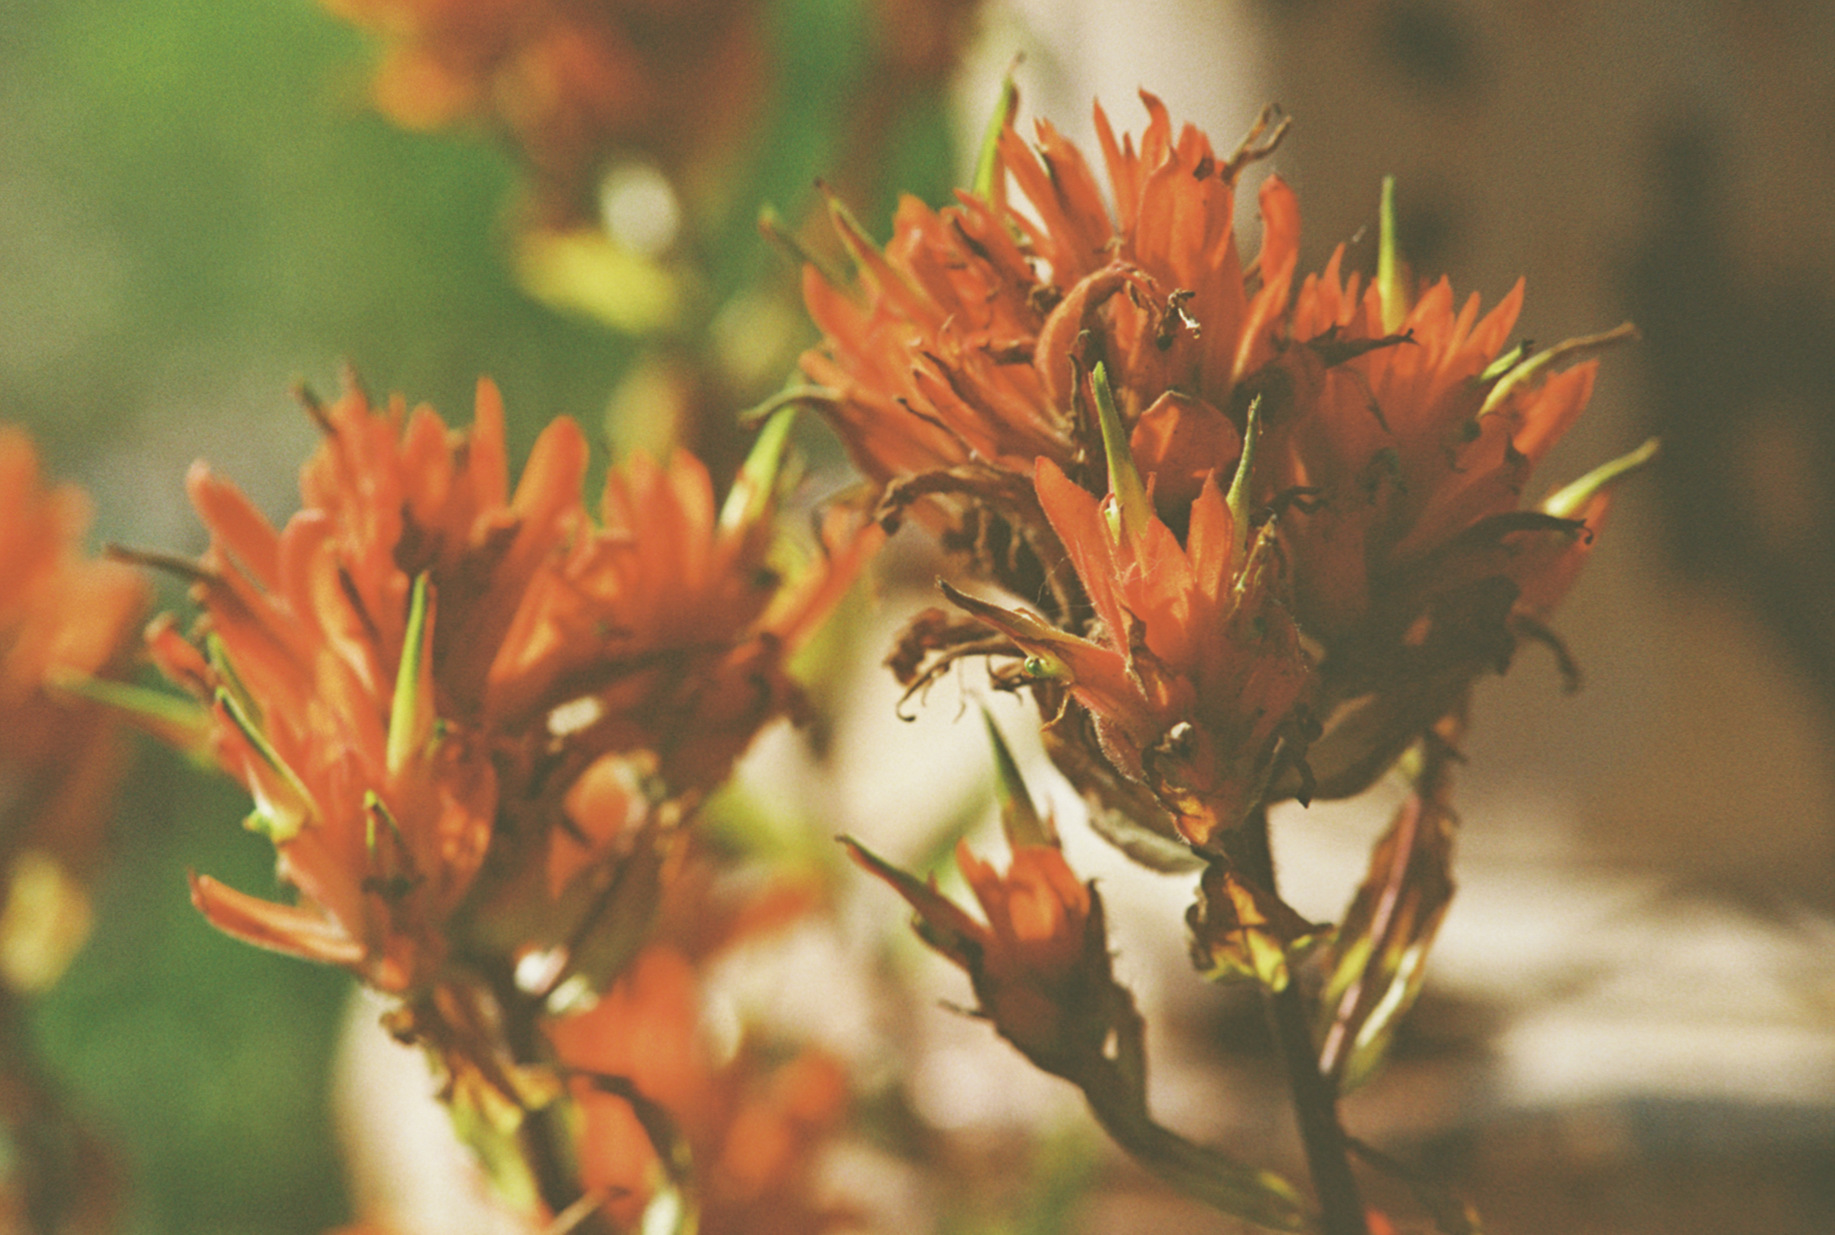
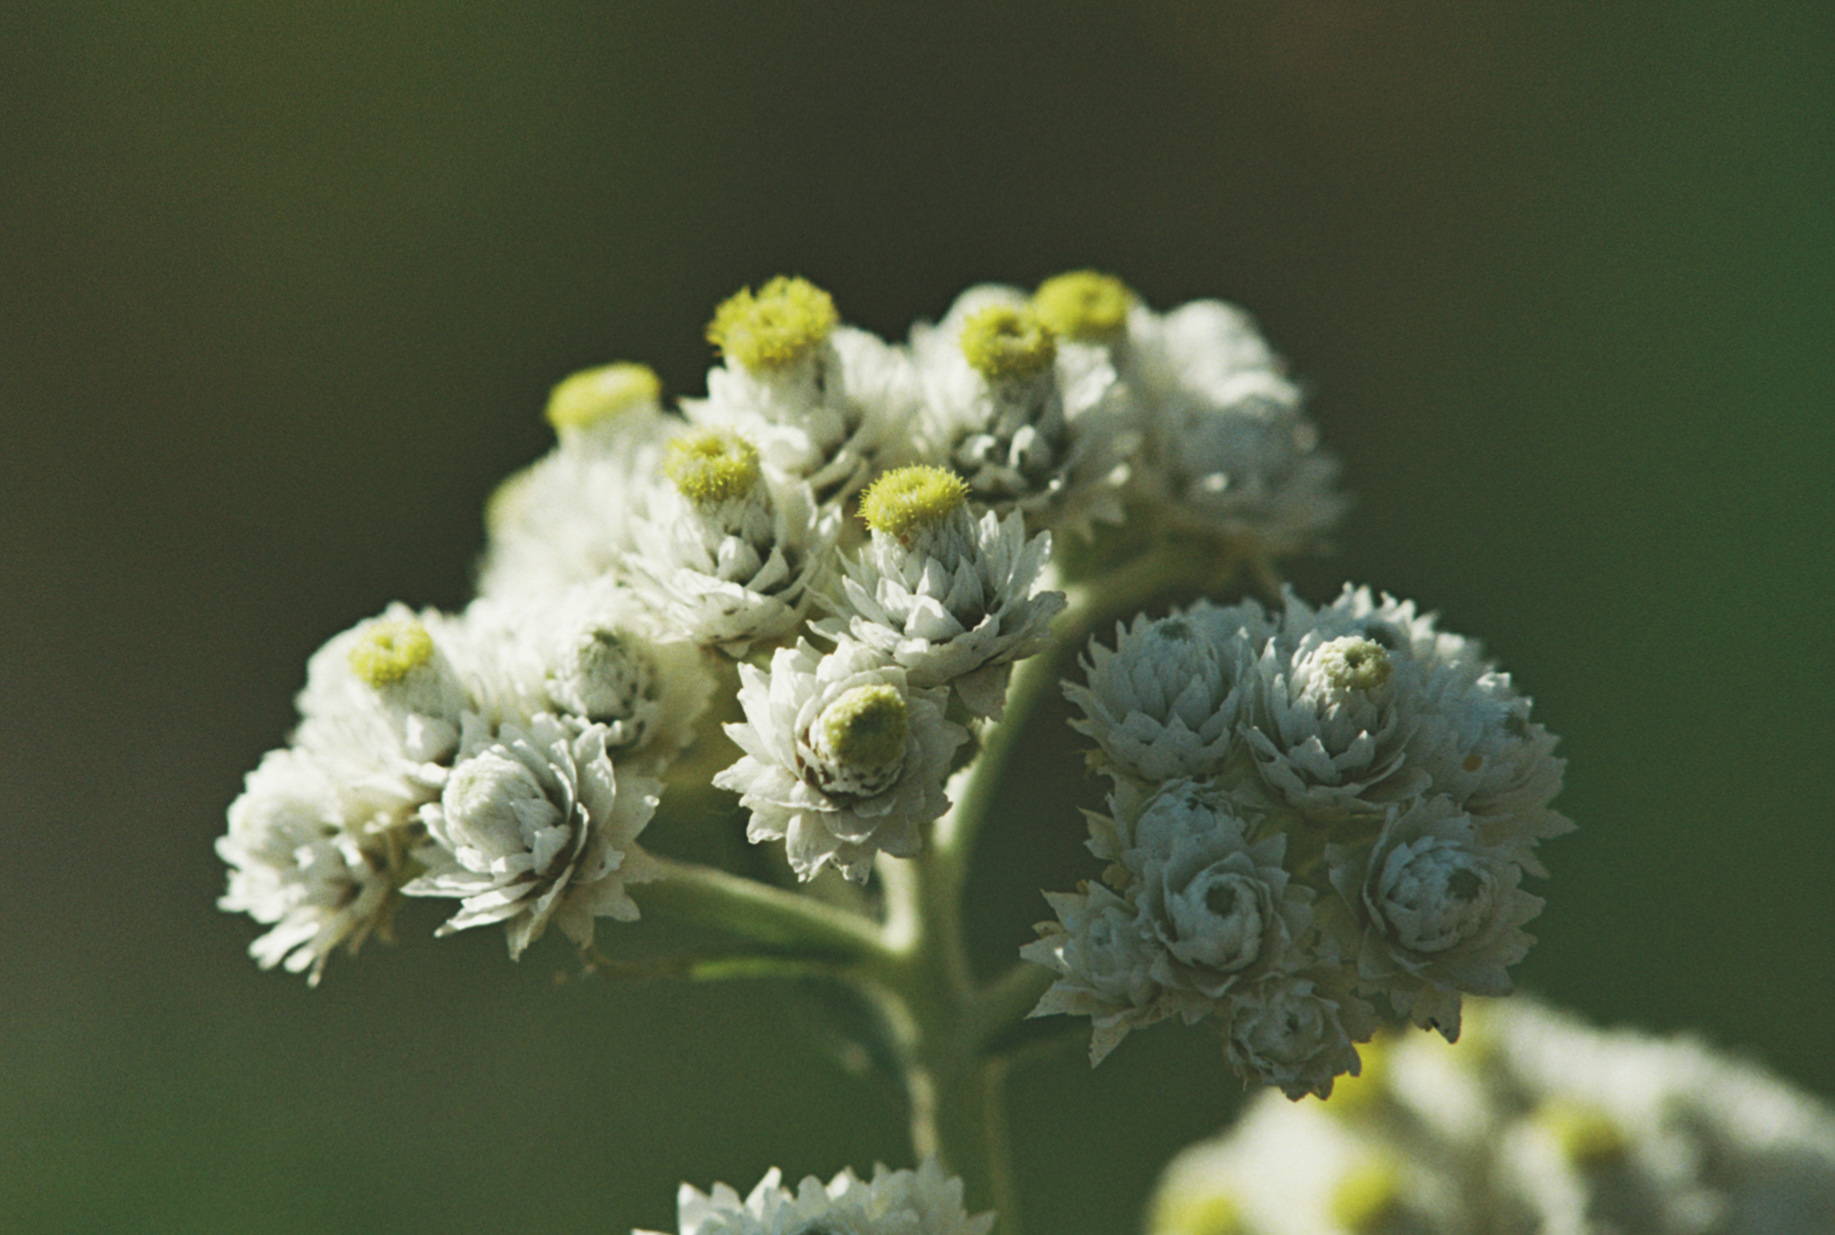
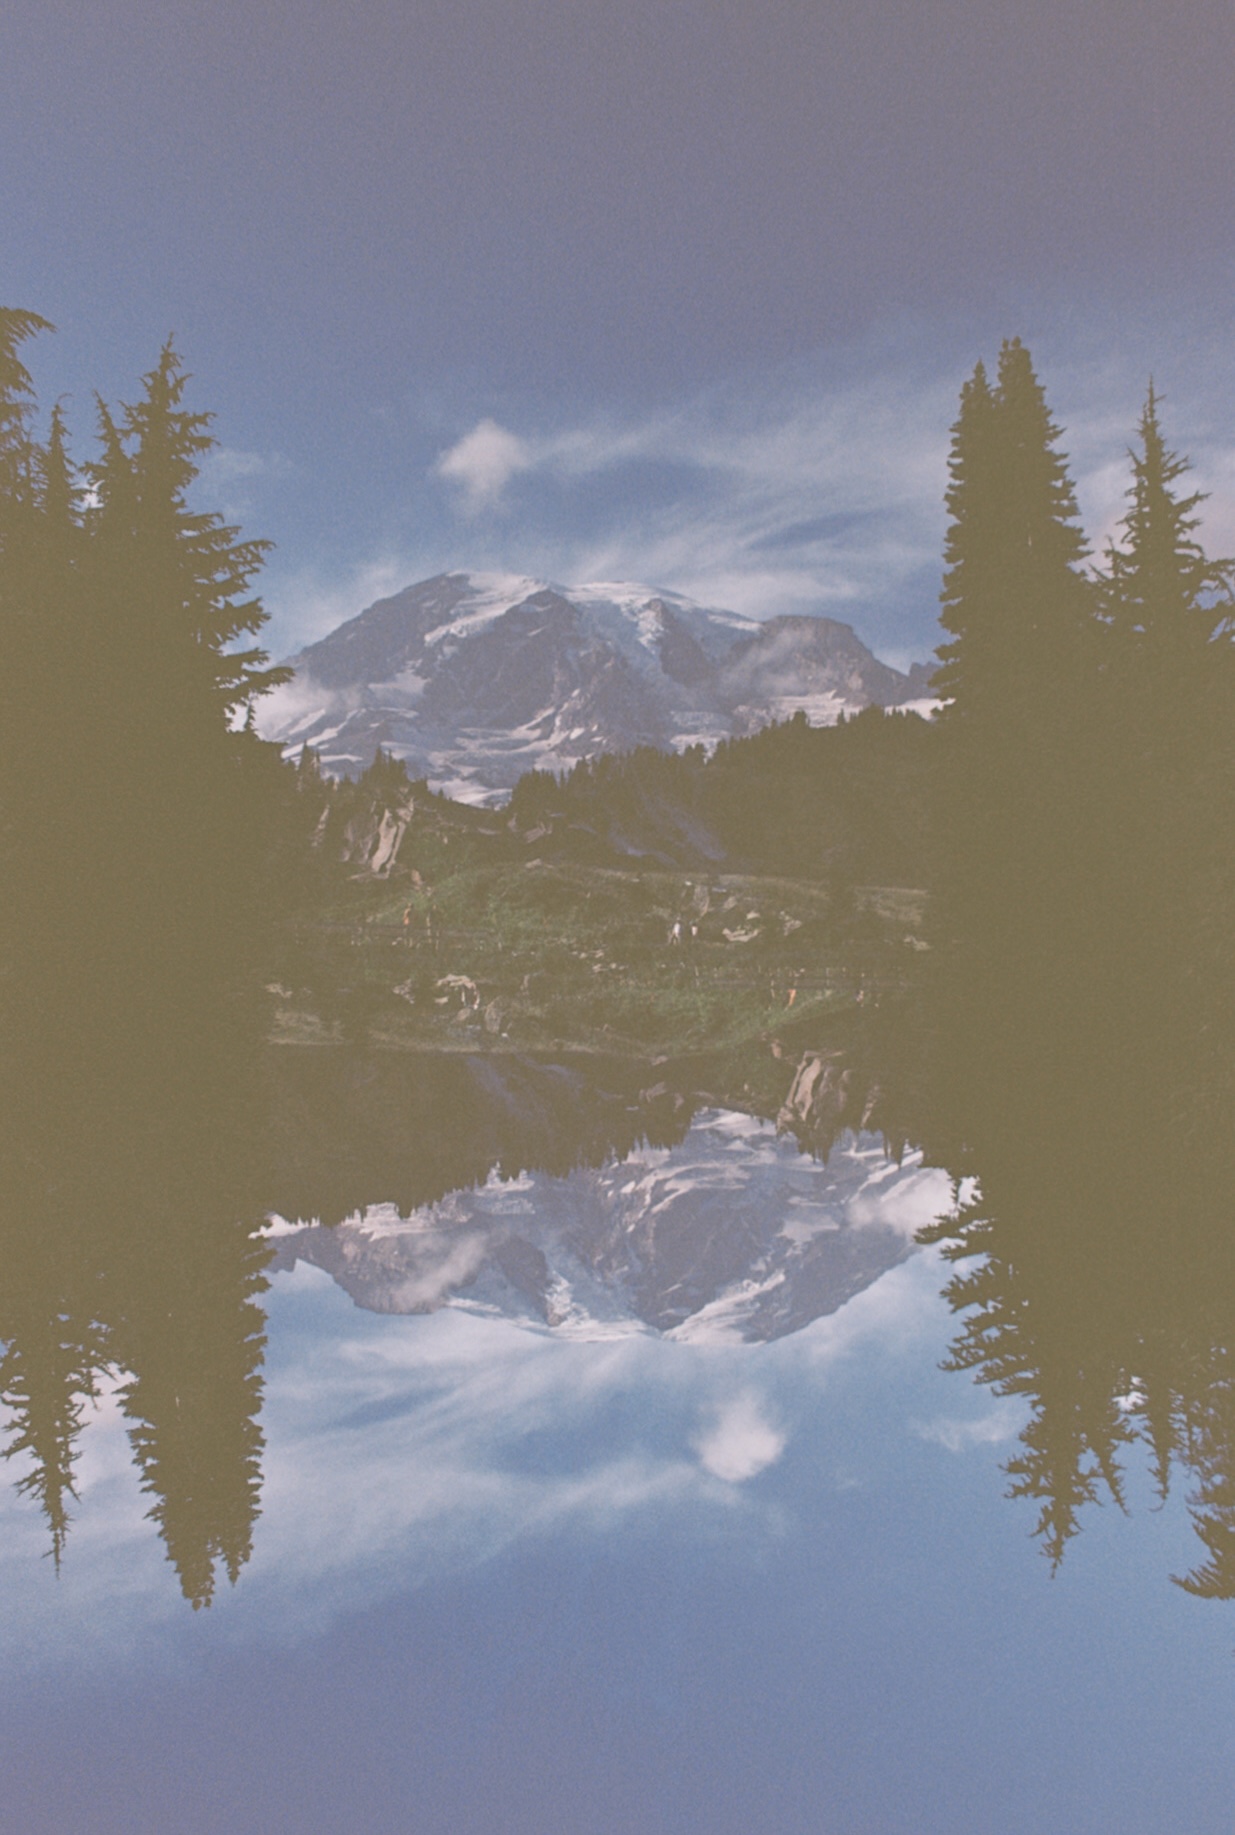
Bad Ektar Roll

The last weird thing I encountered was a terrible roll of Ektar 100. I chose ektar for photographing flowers at Mt. Rainier using the macro lens. My plan was to push the stops very hard so that the saturation in the flowers could bloom. Instead, I received a lifeless roll of Ektar, full of problems. The exposure is horrible in some of these images, and 10+ shots did not develop at all.

A theory I have about why 10 images are blank involves the film transport system. i’ve been a little keen to try the double exposures on the F2 due to the dedicated button to pausing transport, allowing for easier manipulation of the film. While writing this, it occurs to me that I am missing the majority of the double exposures I attempted on this roll of ektar. As such, its very possible that I introduced some issues with the film transport, causing nothing to develop.

The verdict

Ultimately, after hashing all of this out, I am certain there is only an issue with the light meter reading off. I will attempt to fix this and baseline it against my OM-1N meter. Additionally, I will test the shutter speeds to make sure they are accurate.
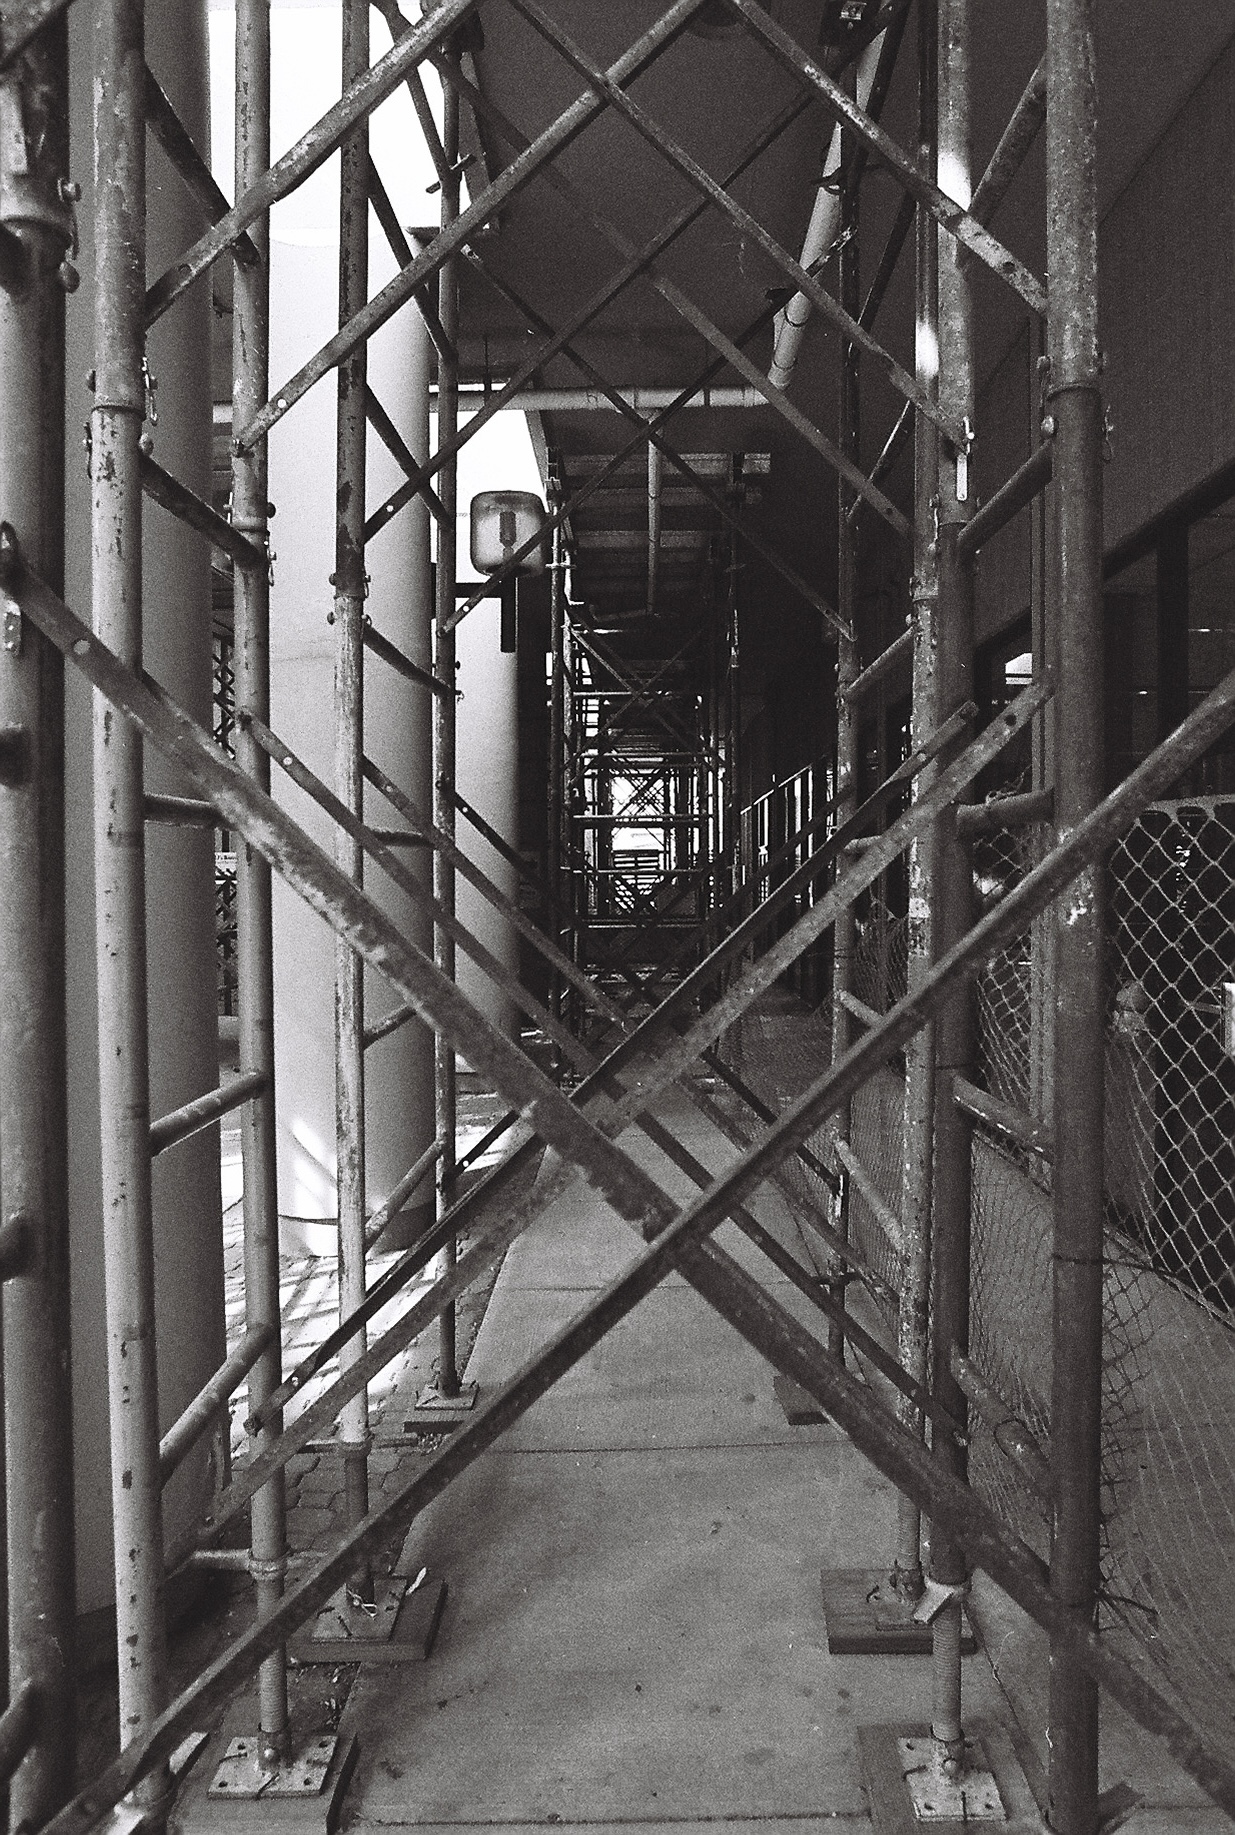
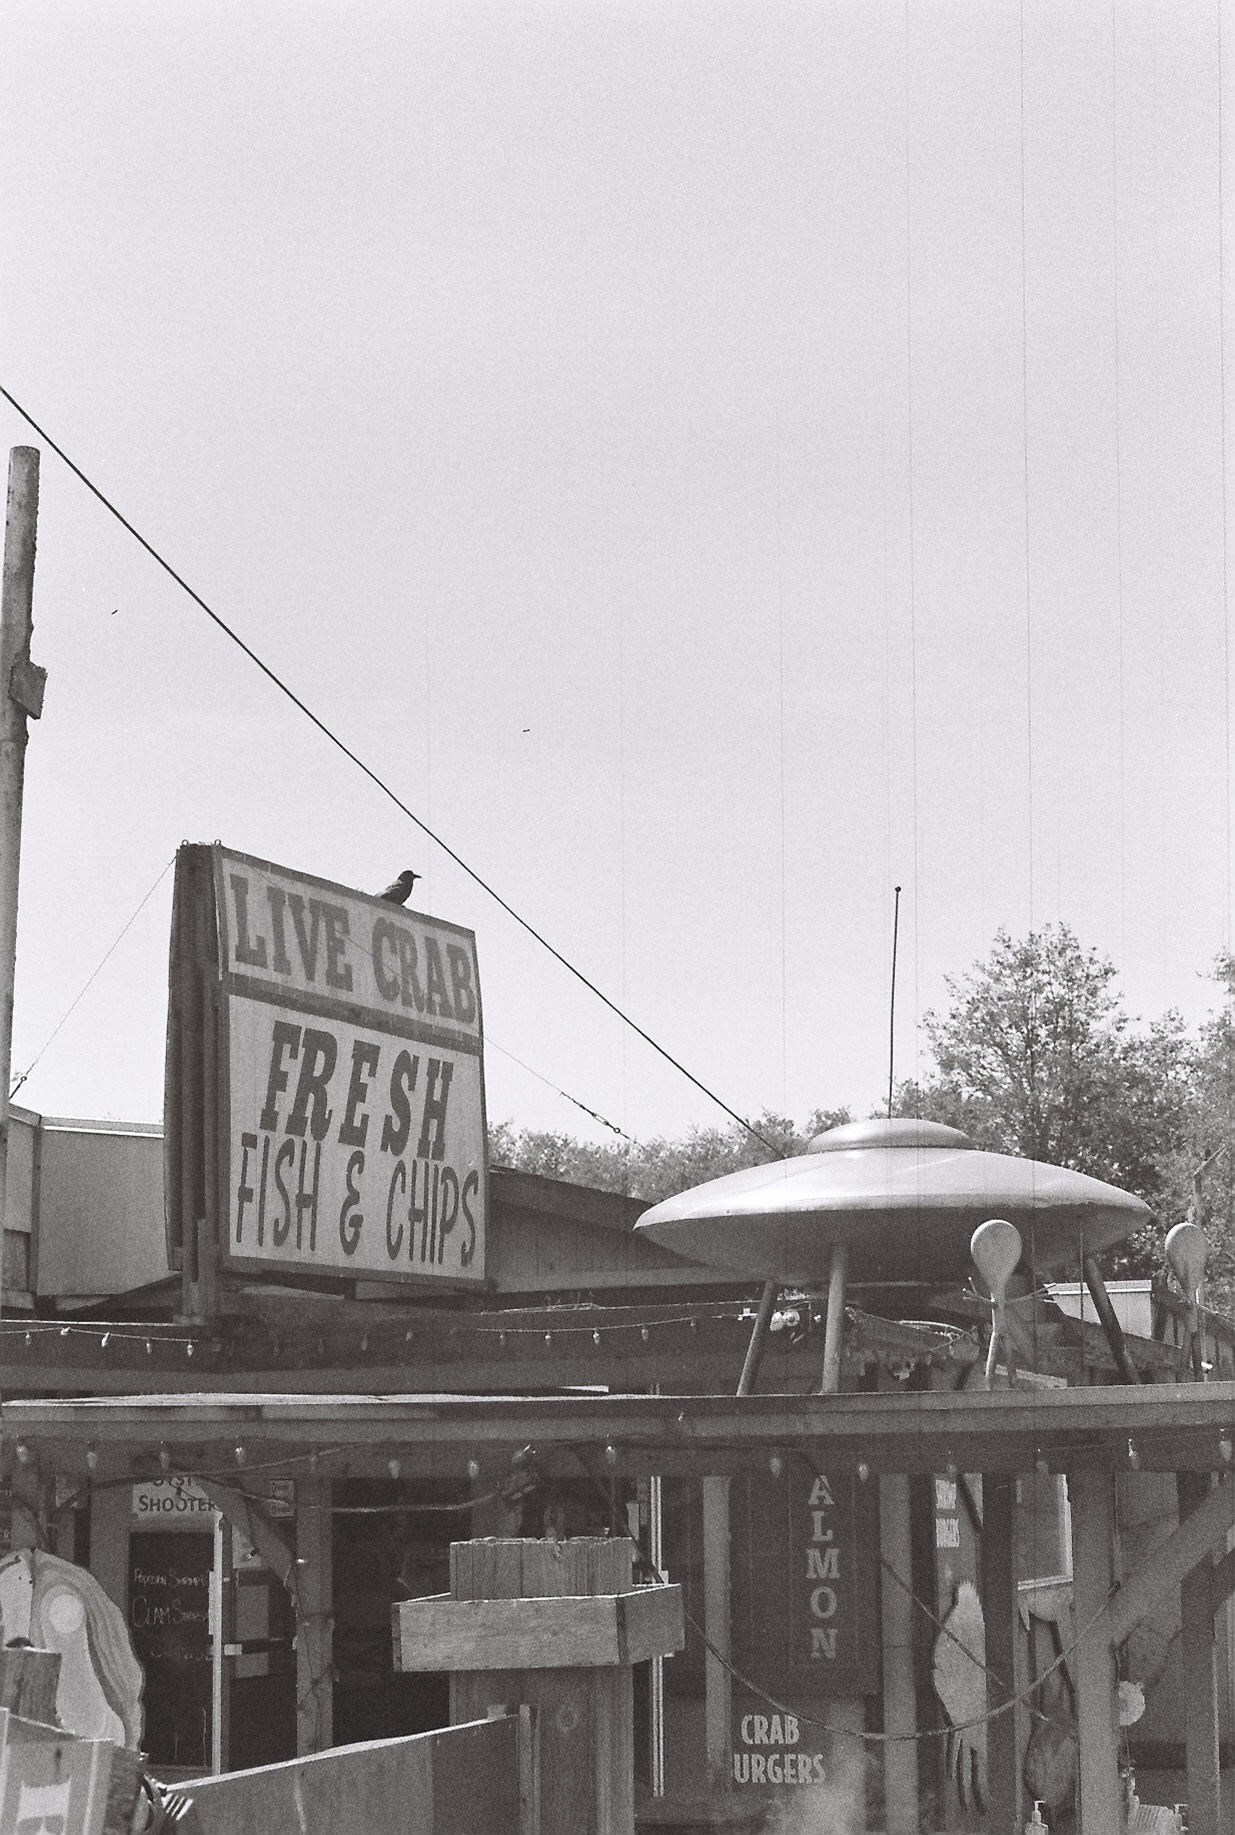
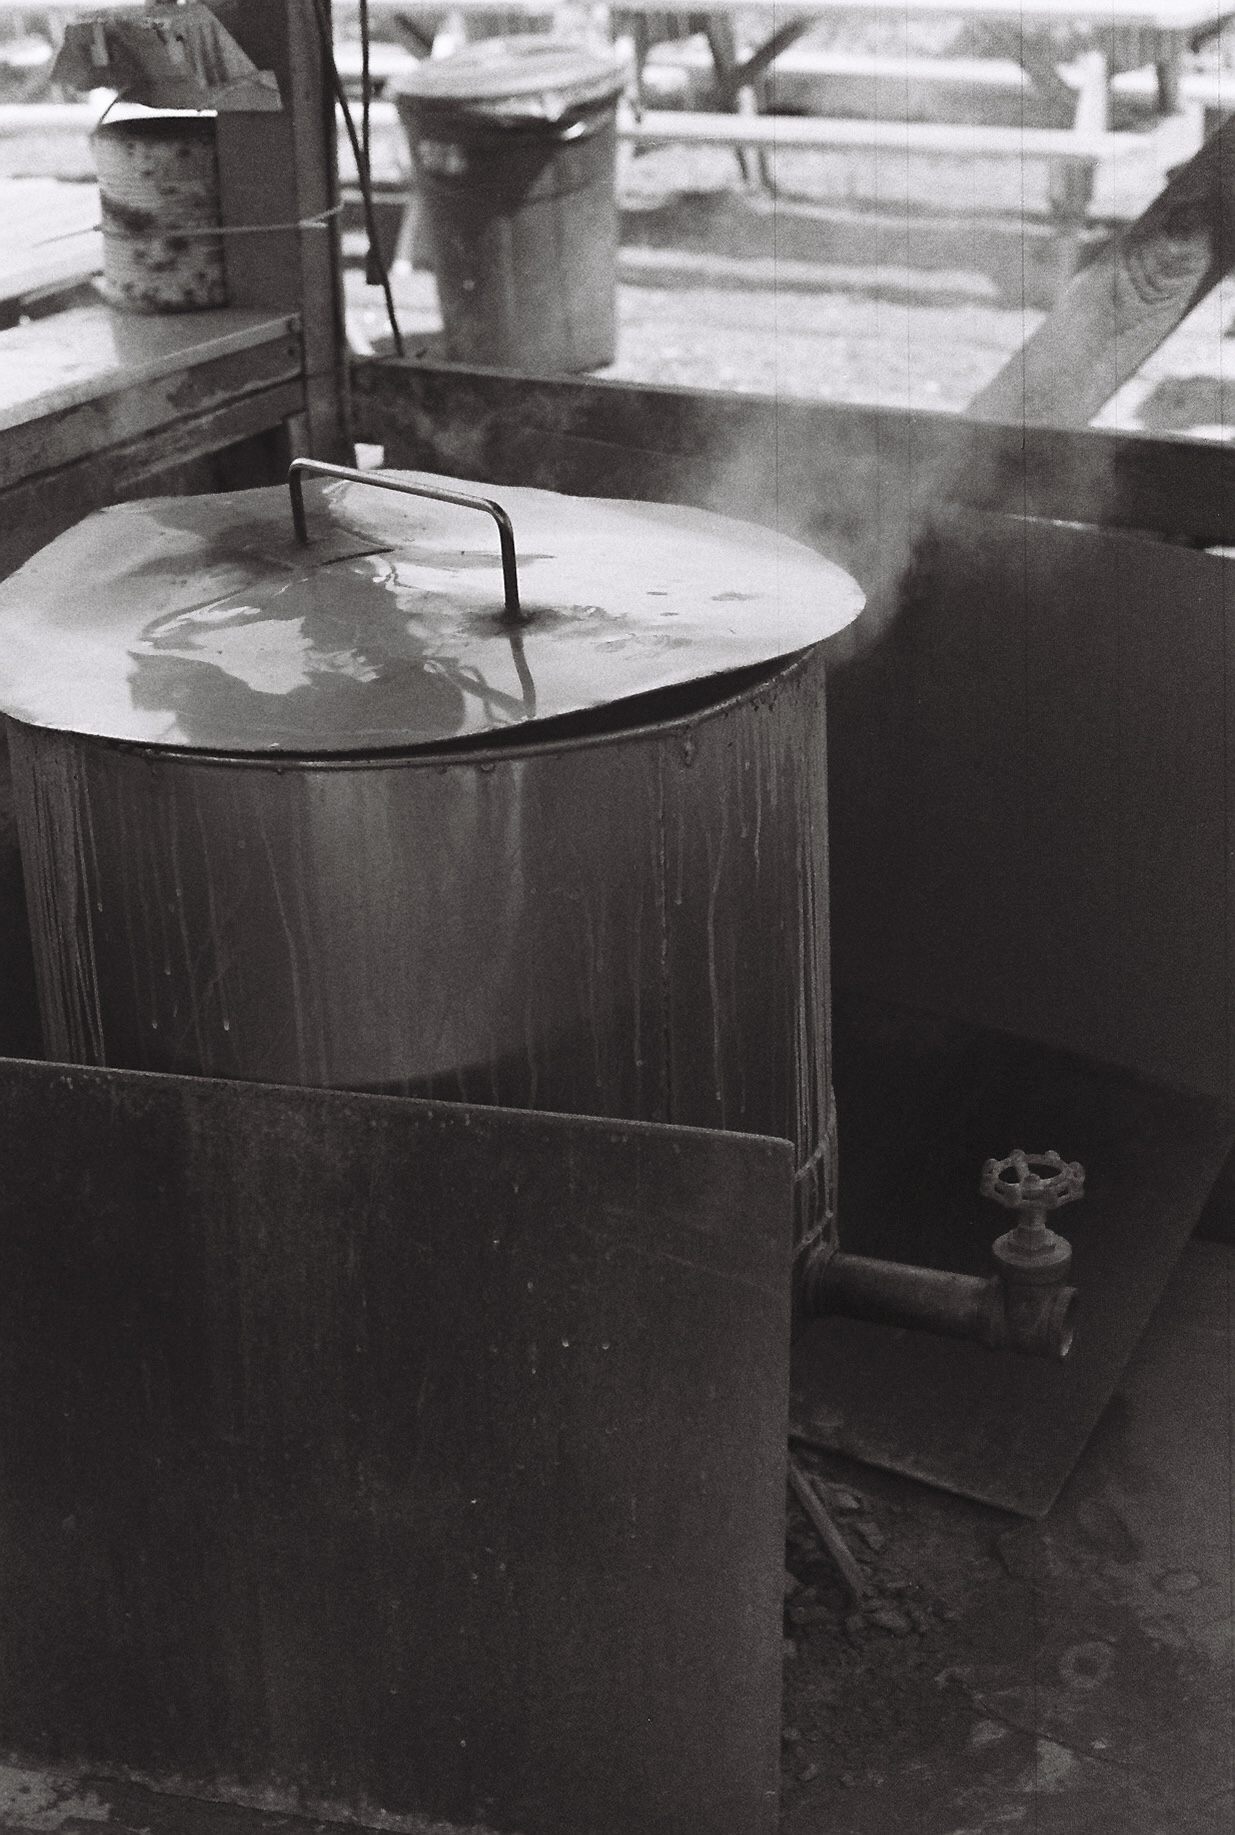
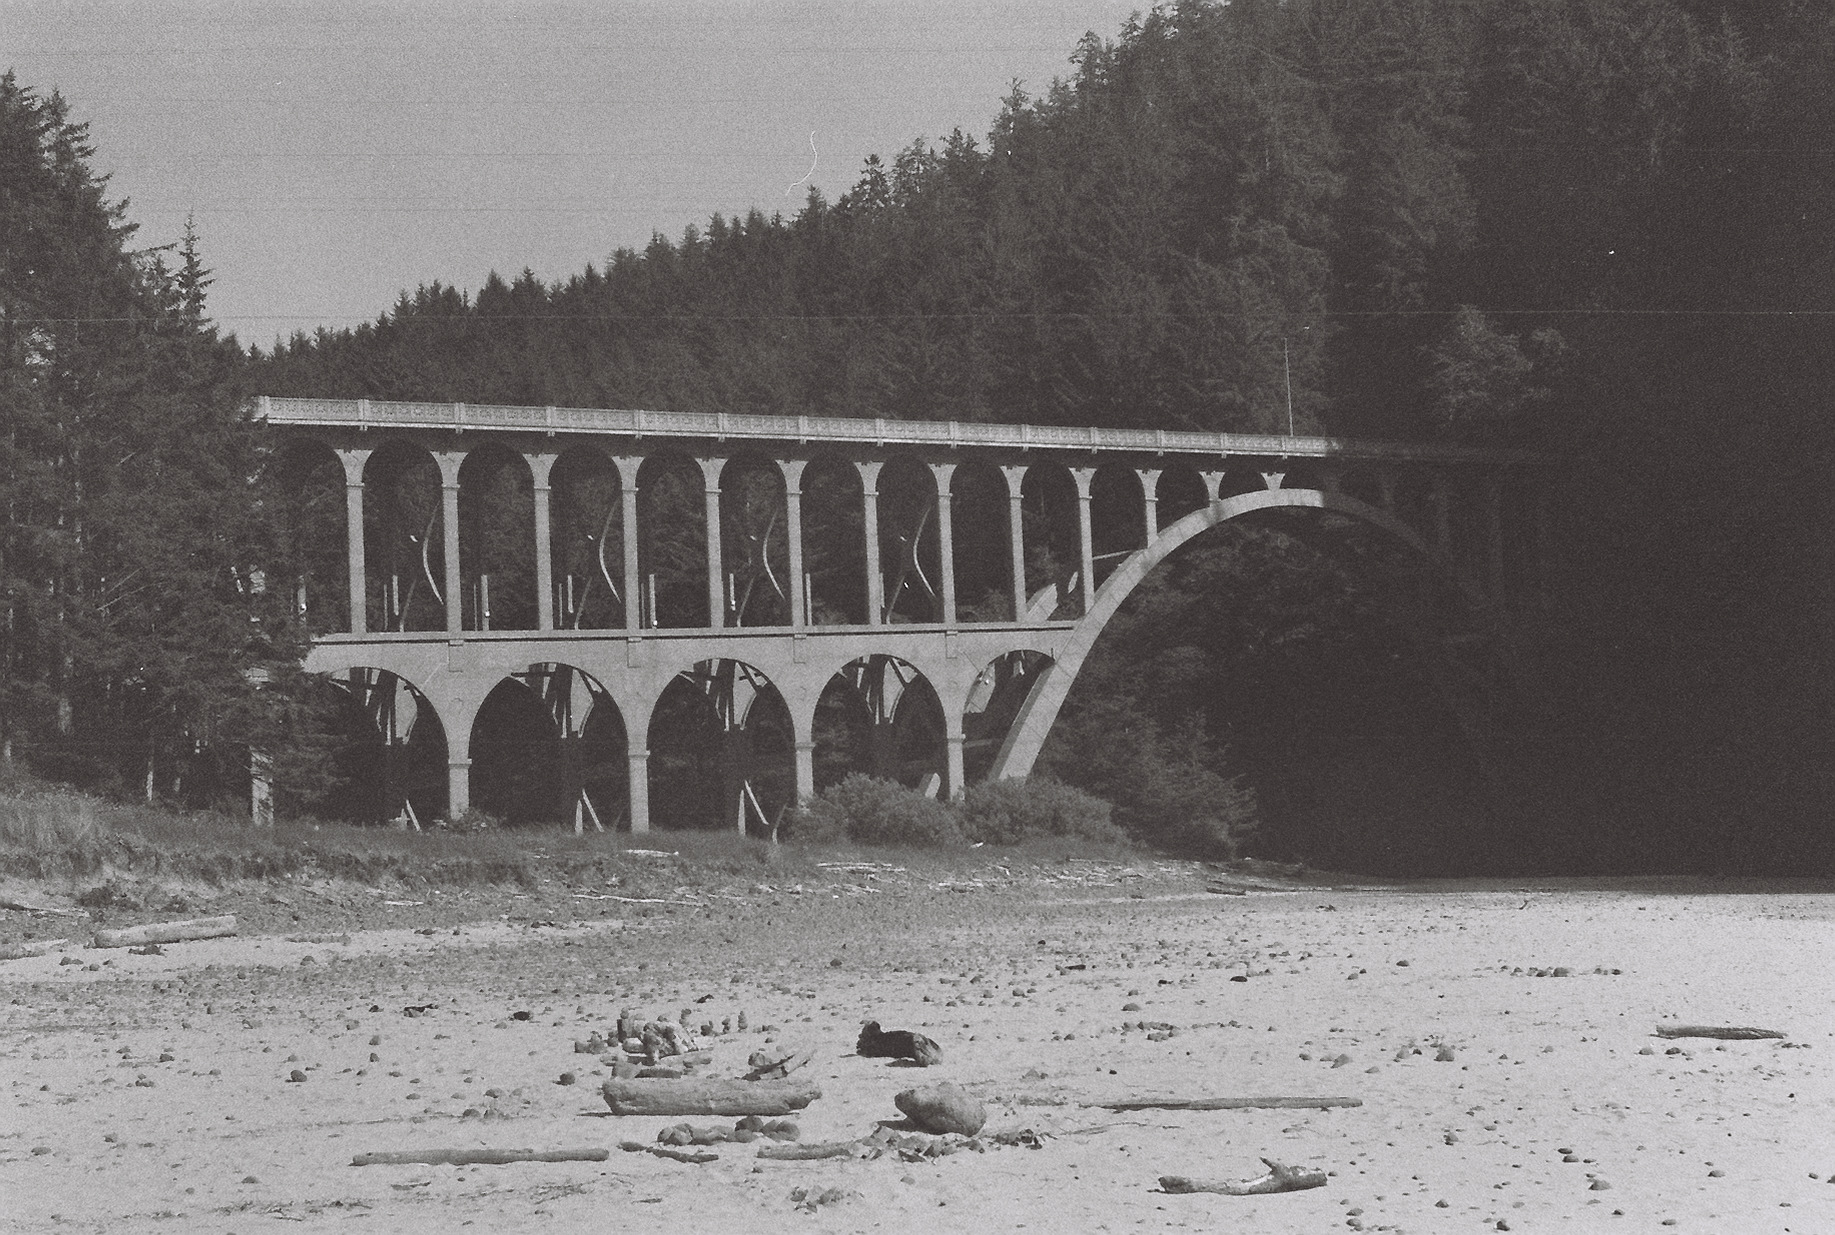
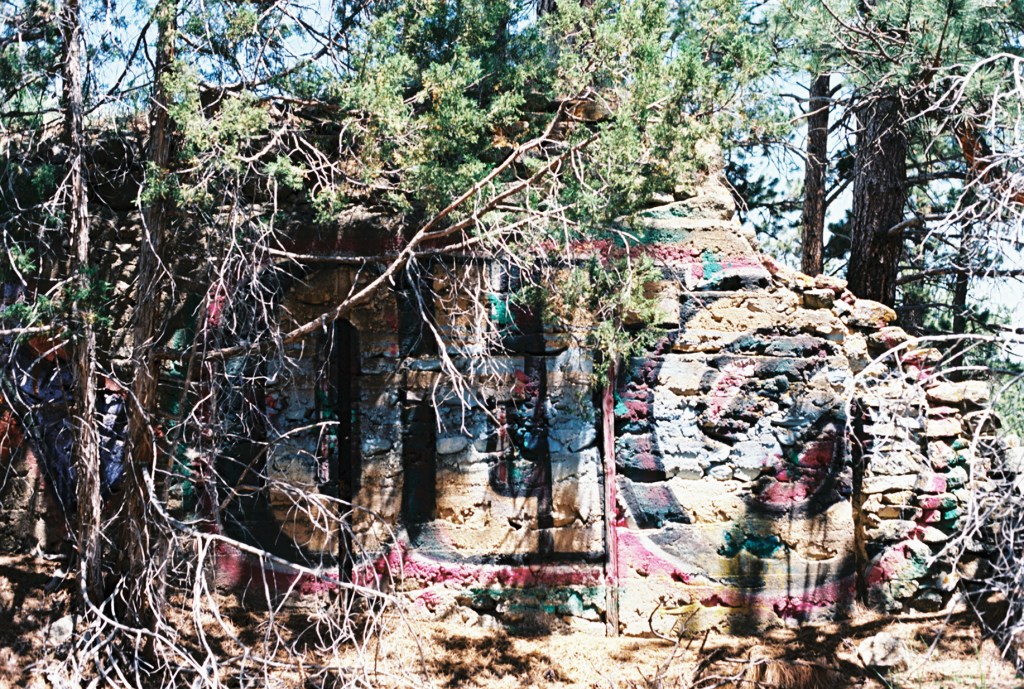
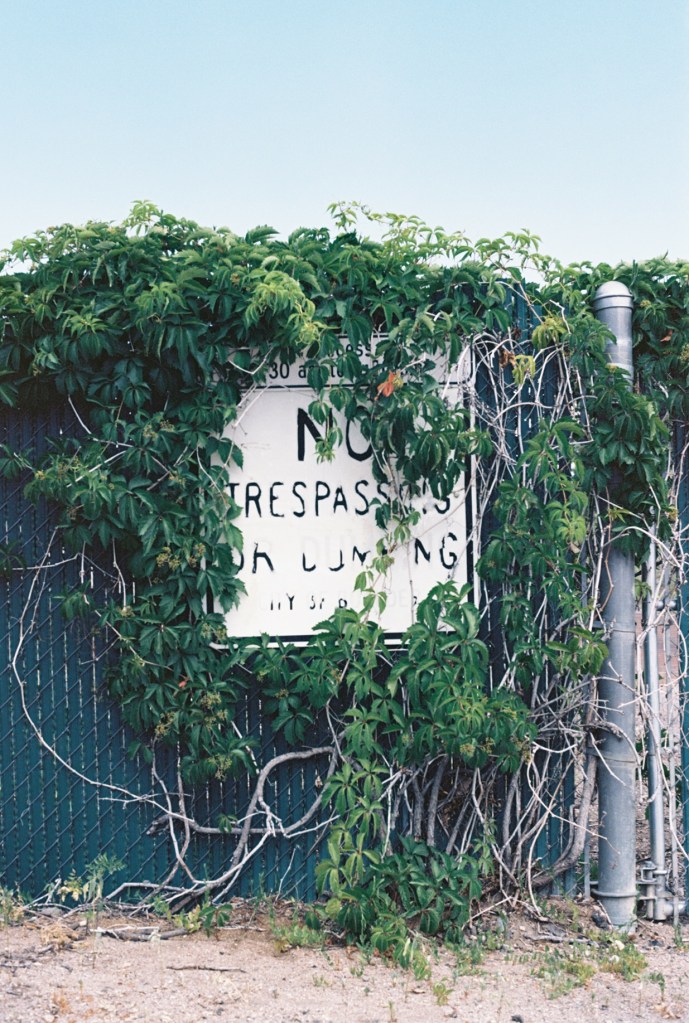
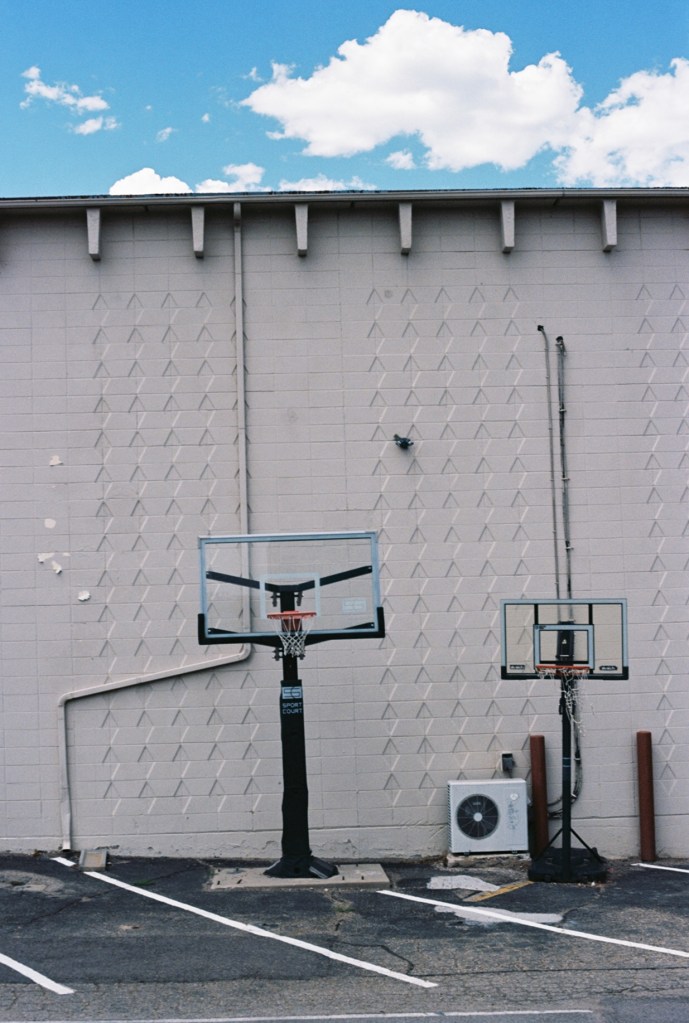
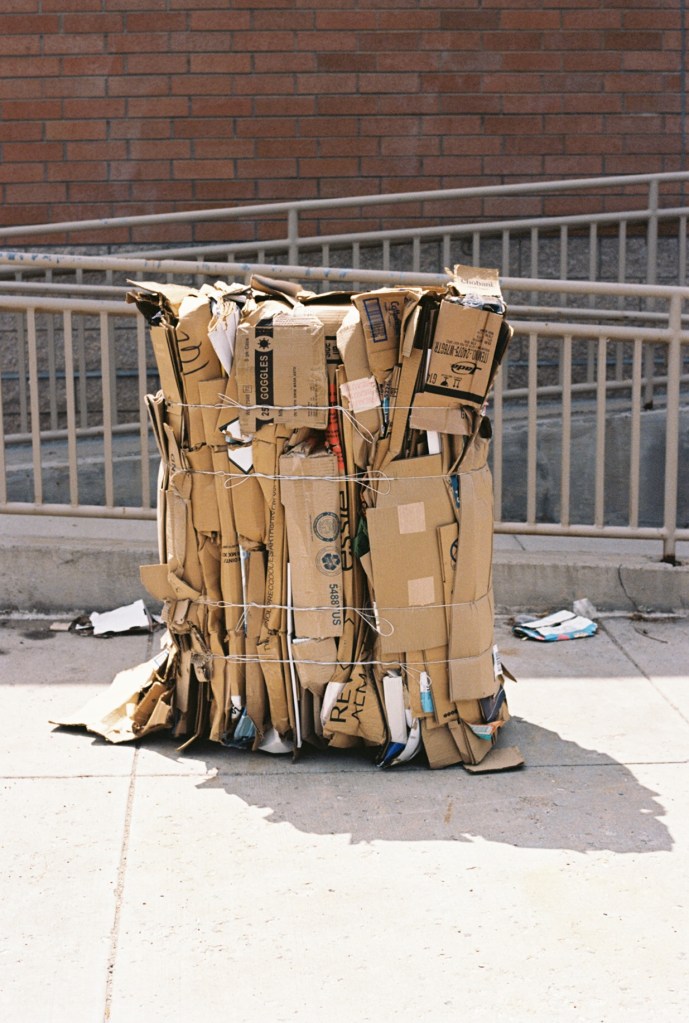
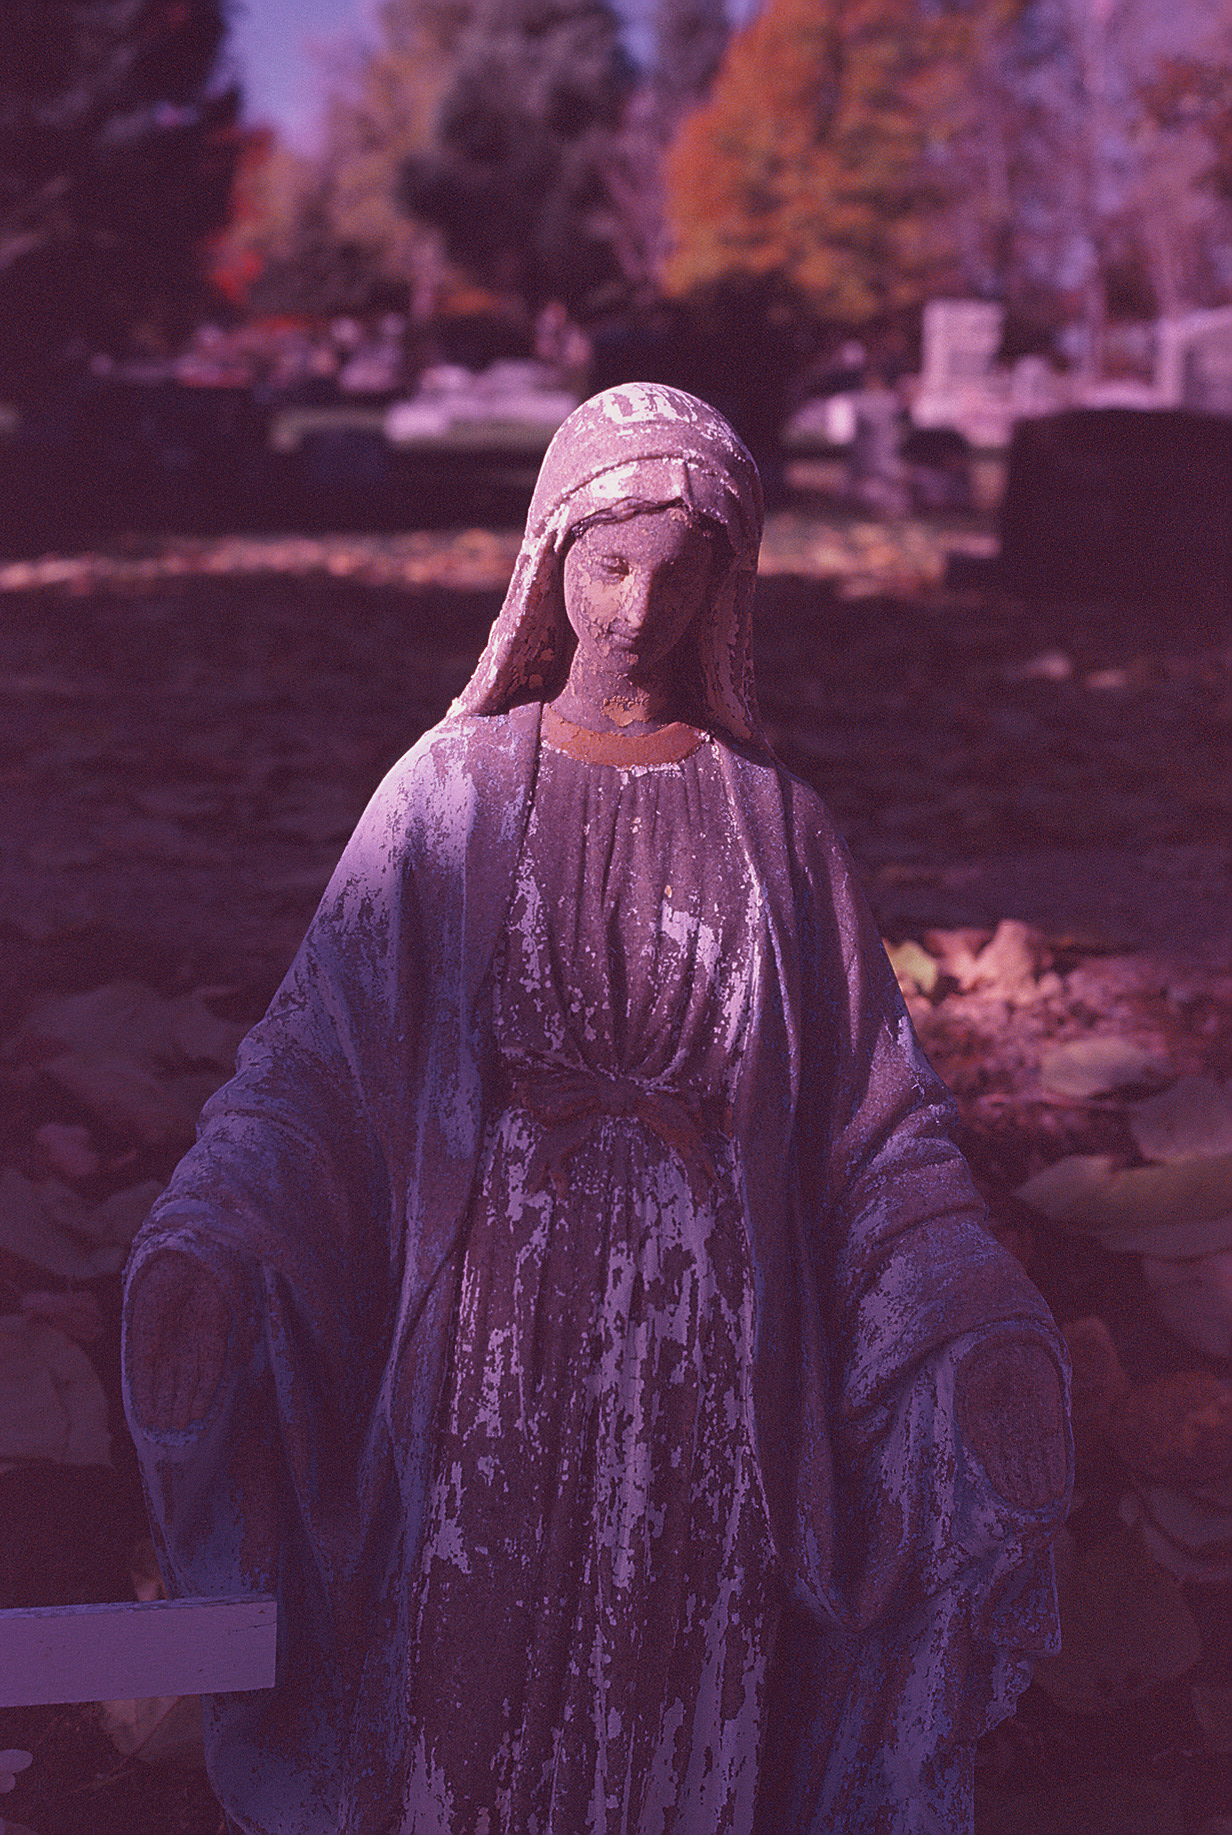
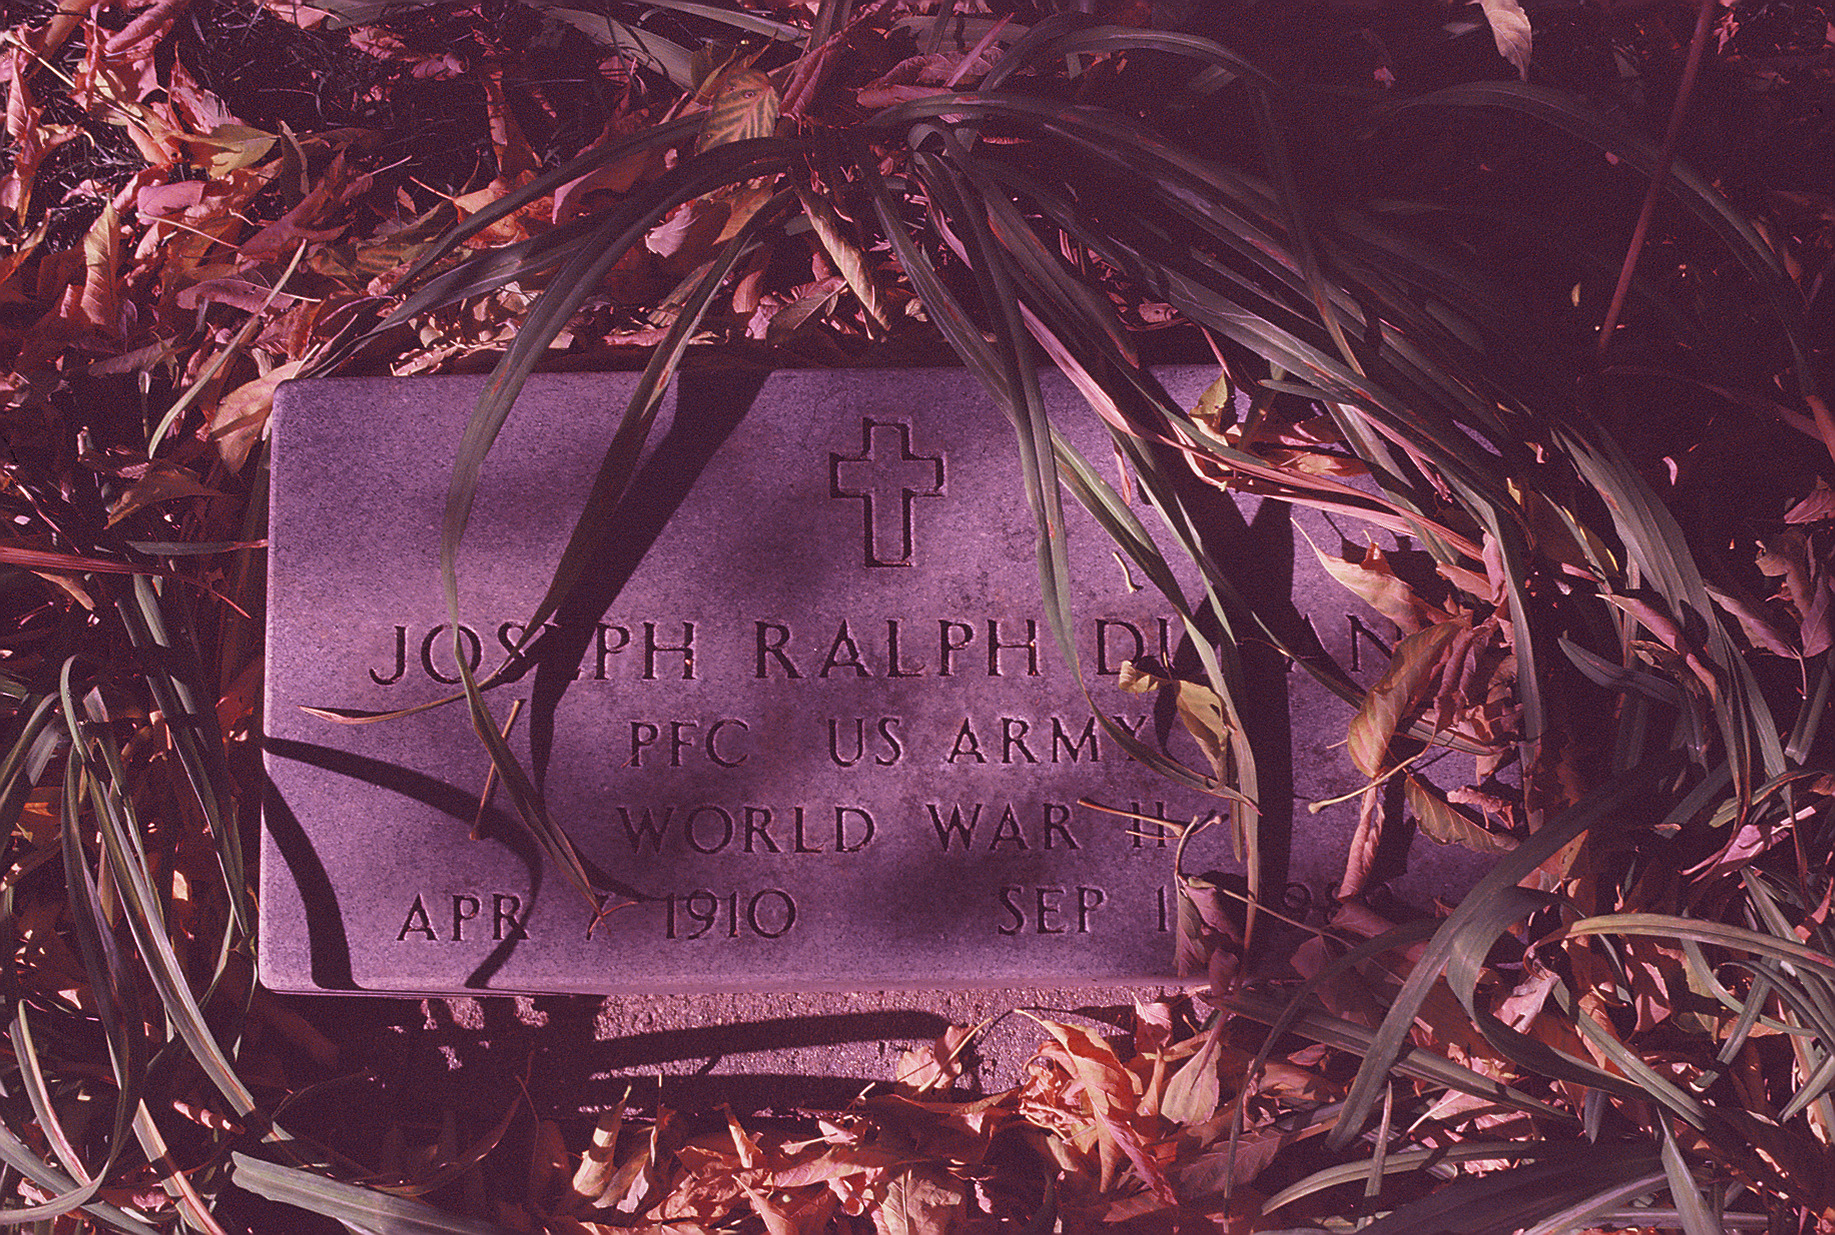
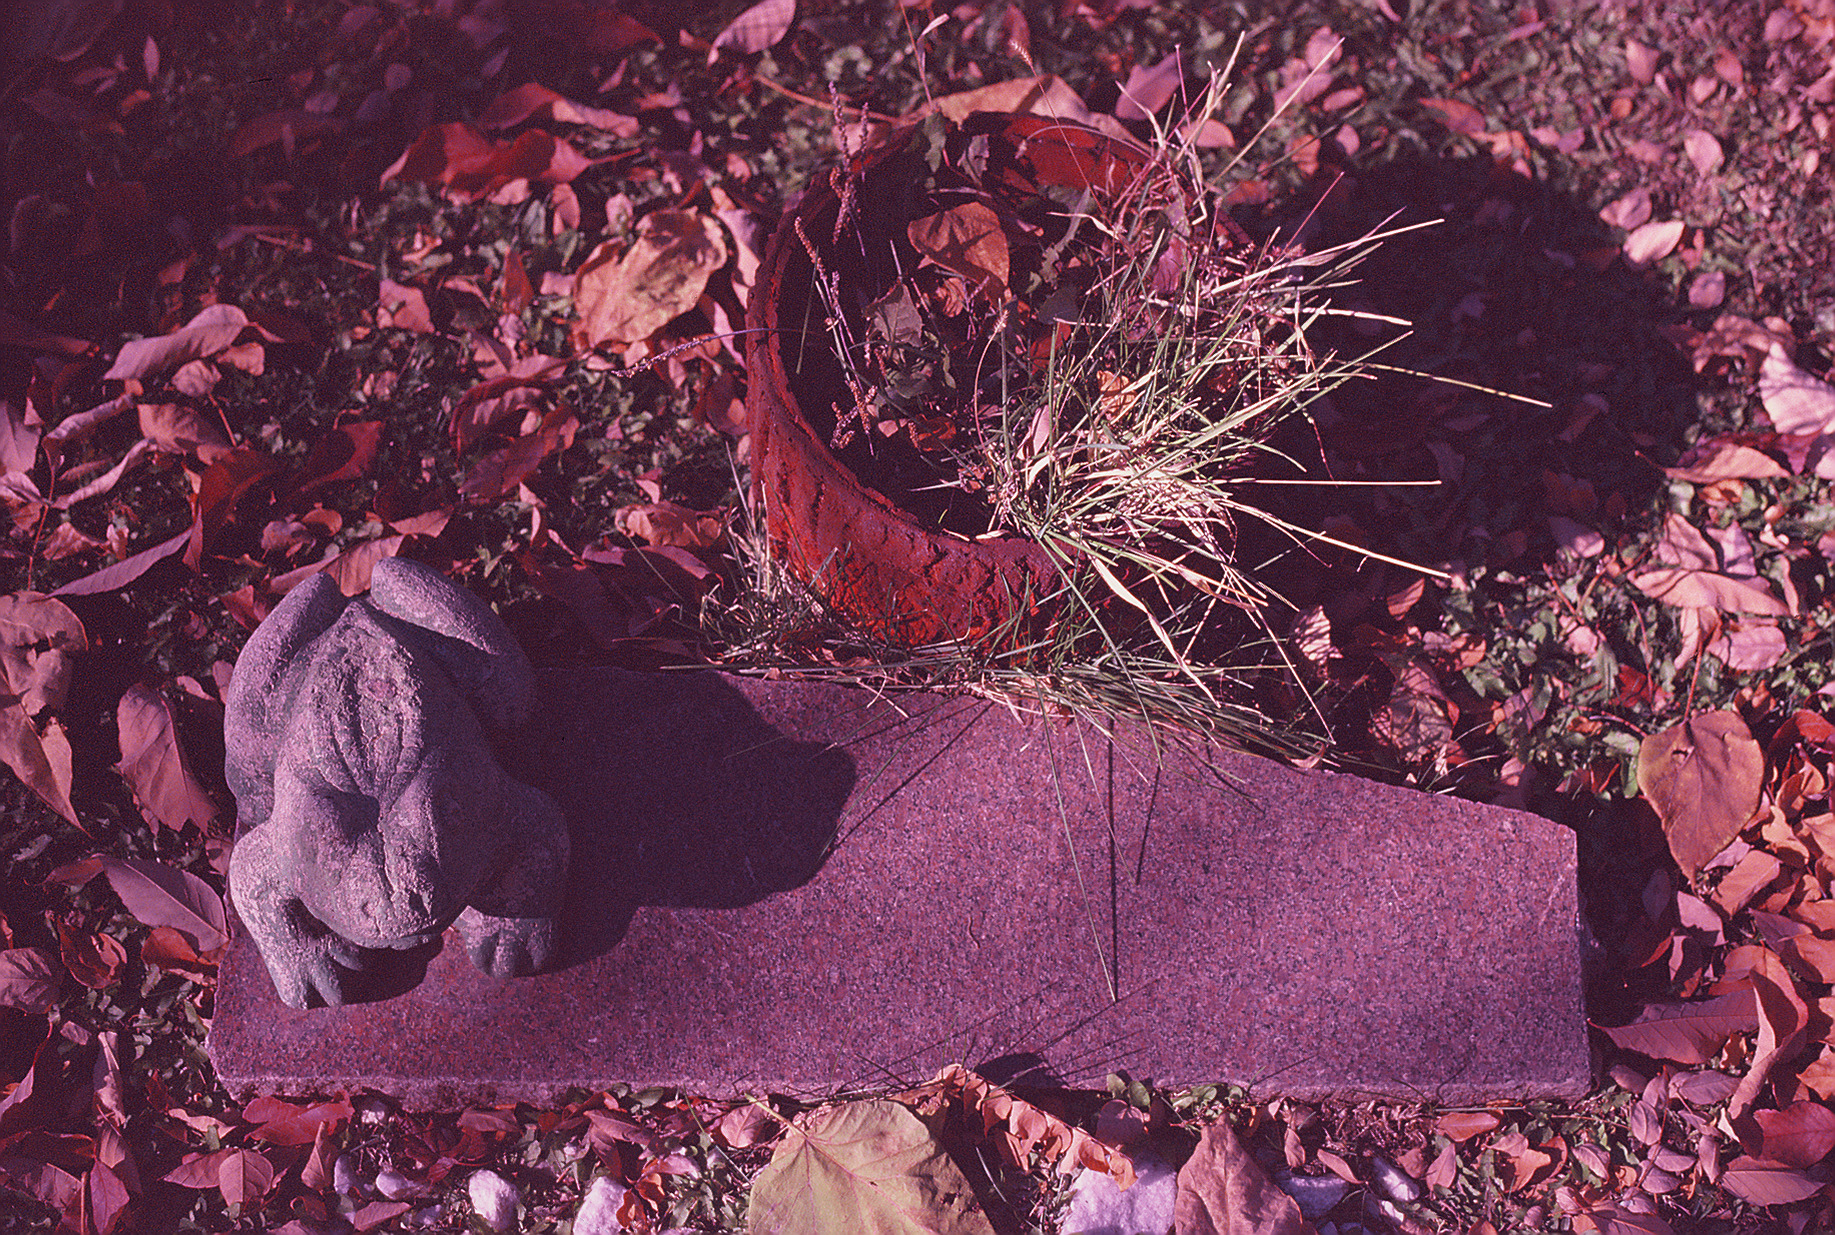
bonus shots

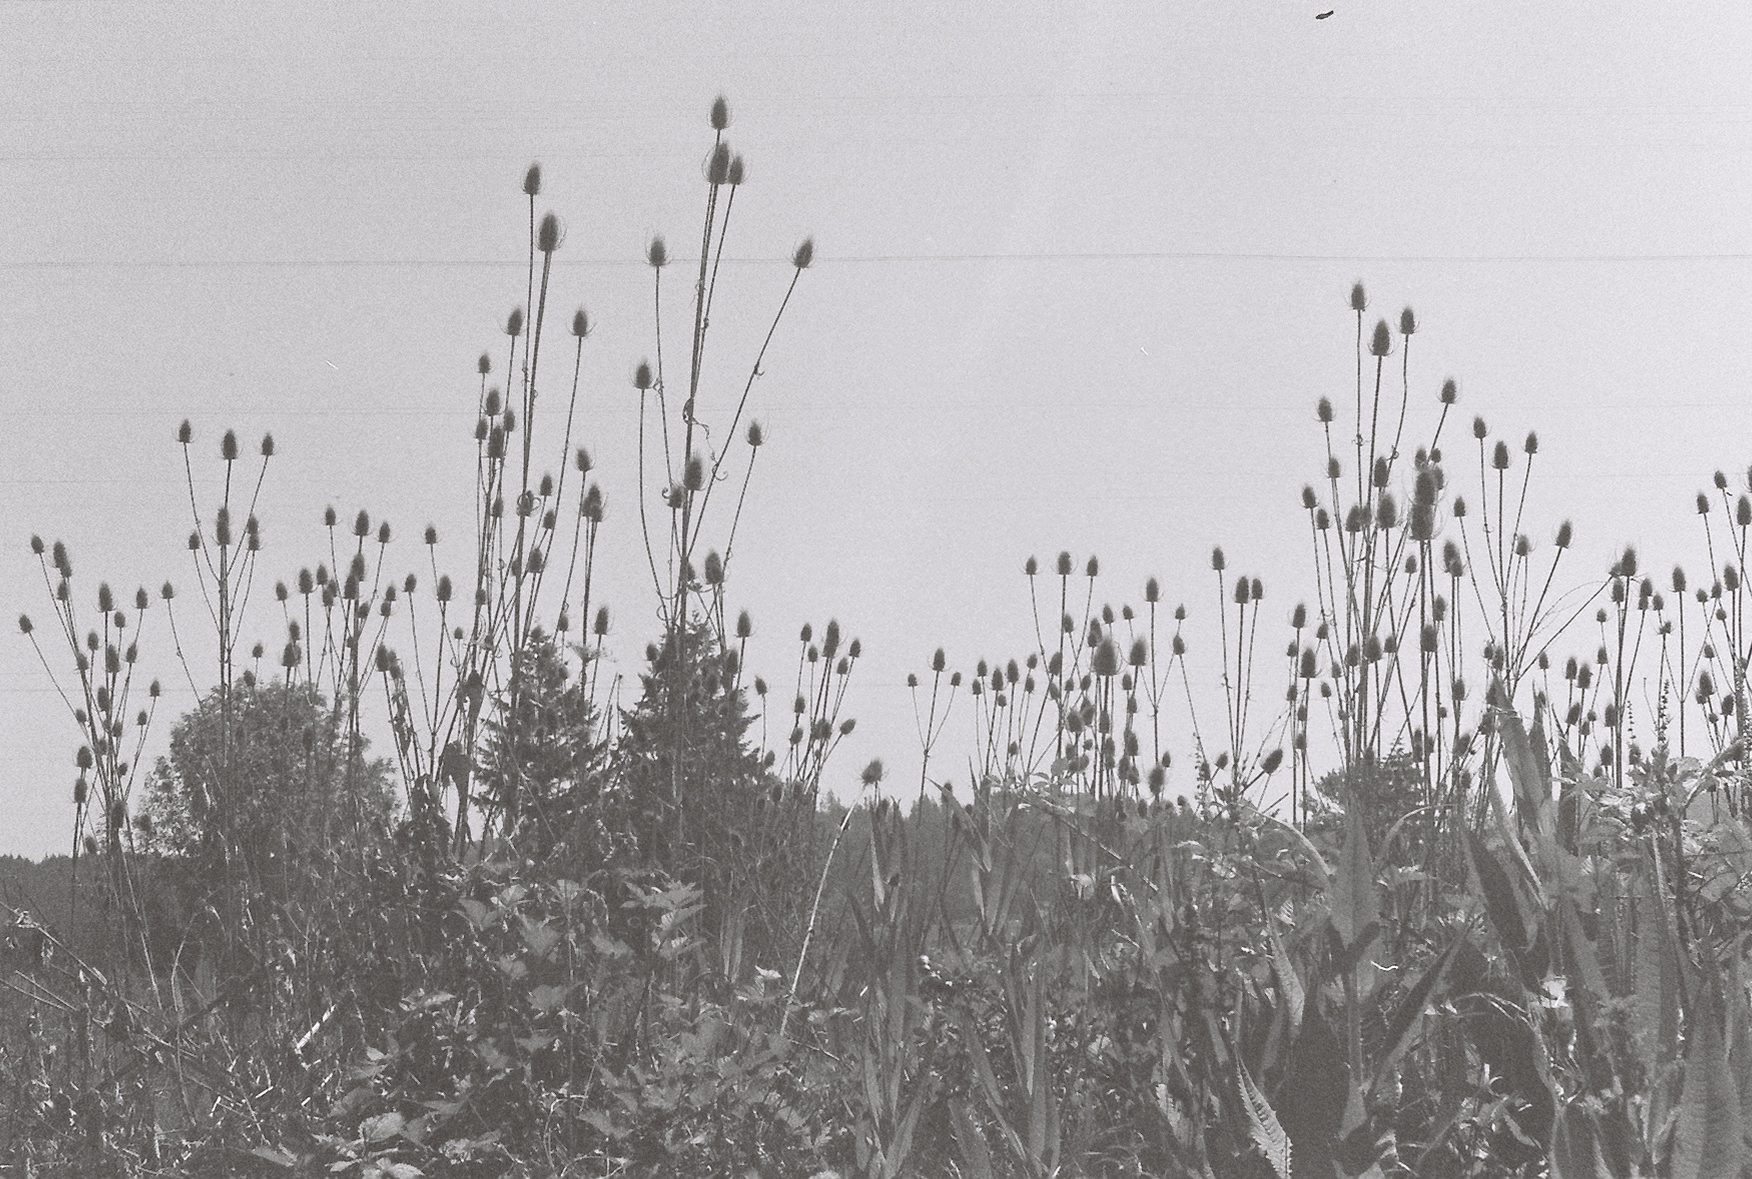
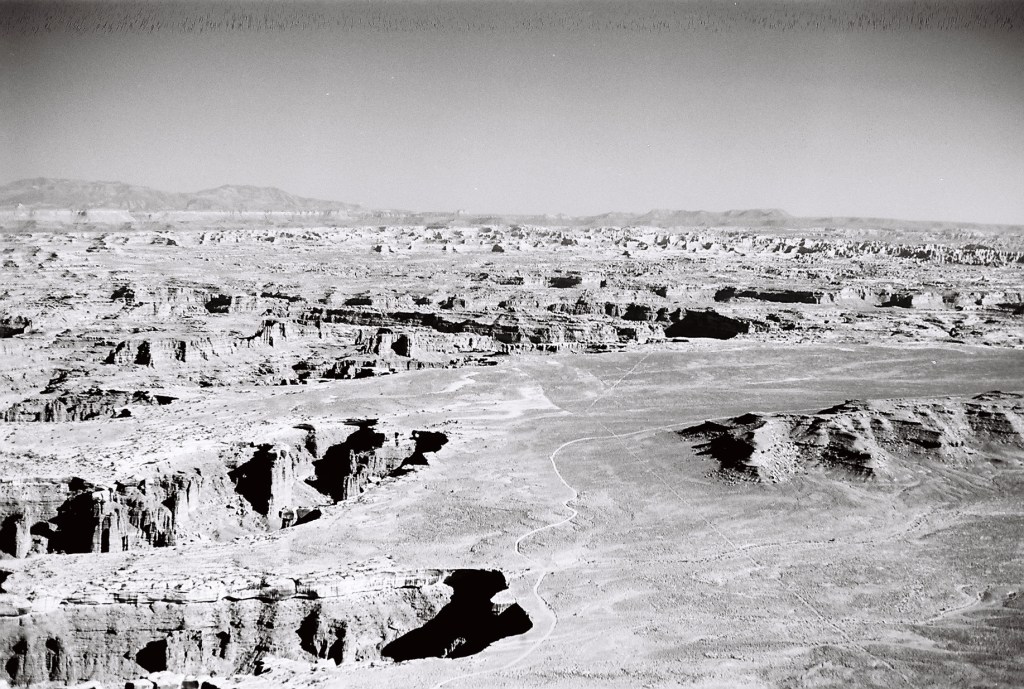
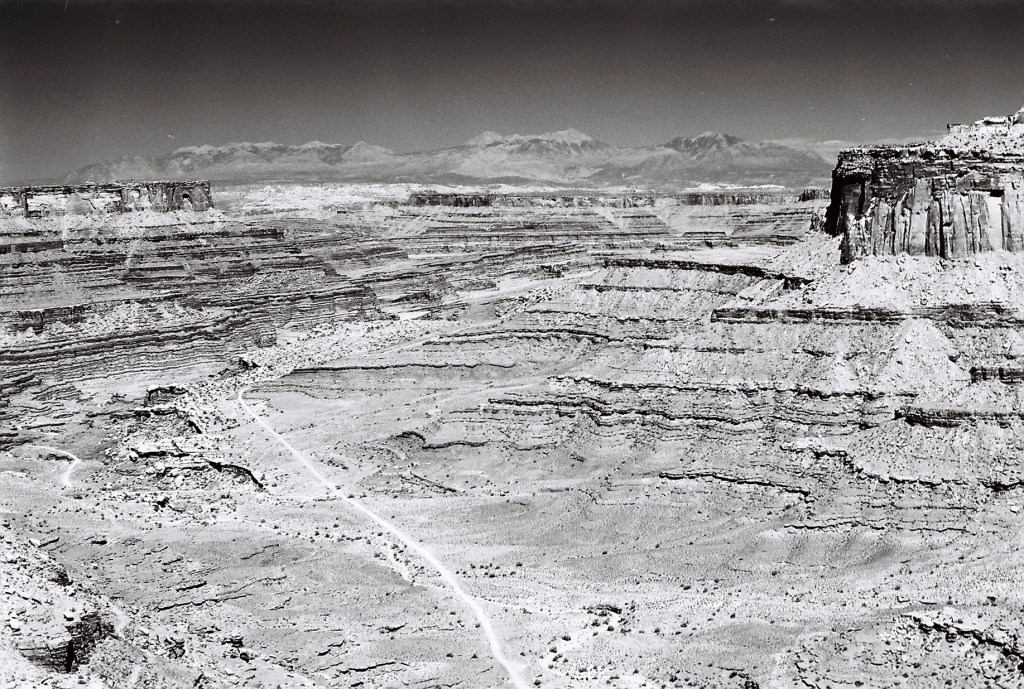
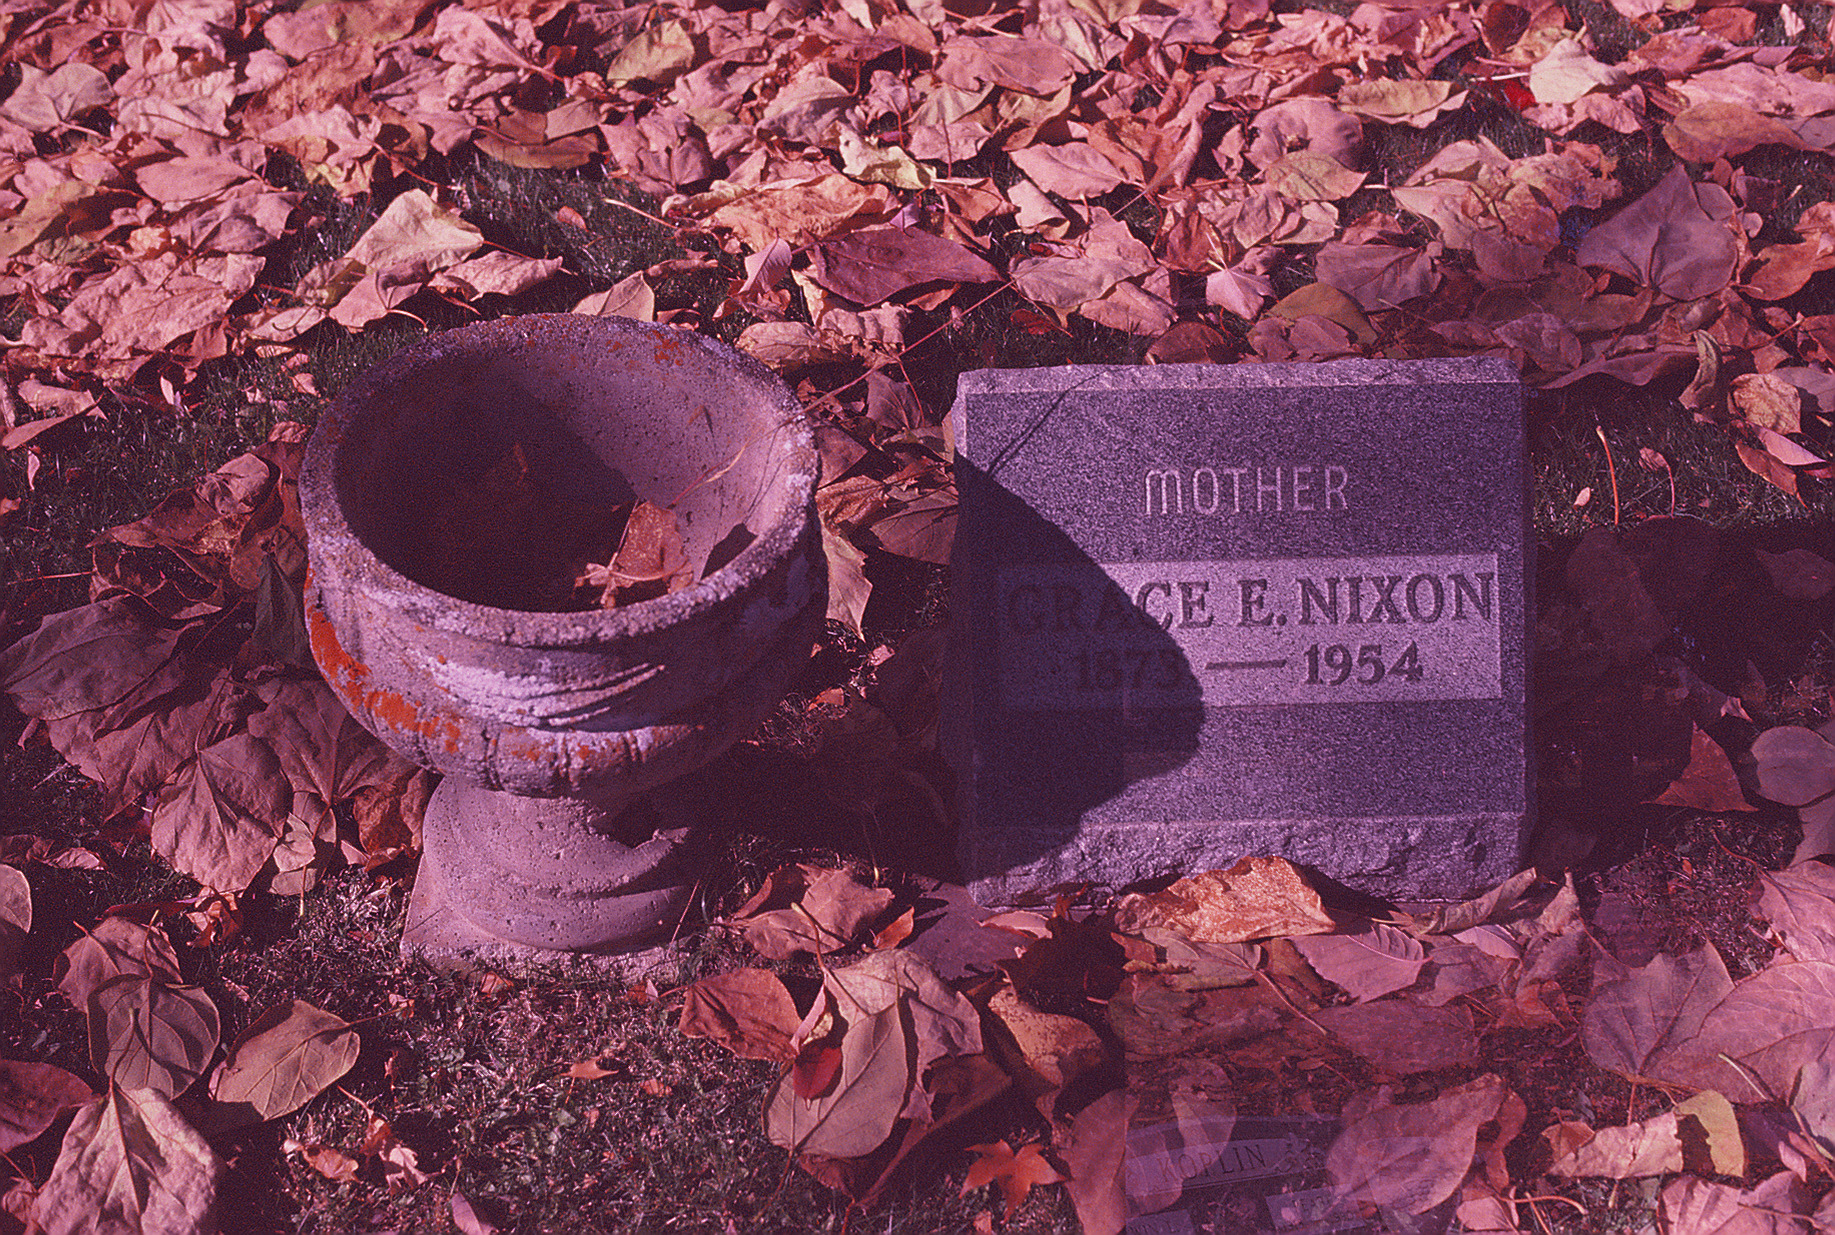
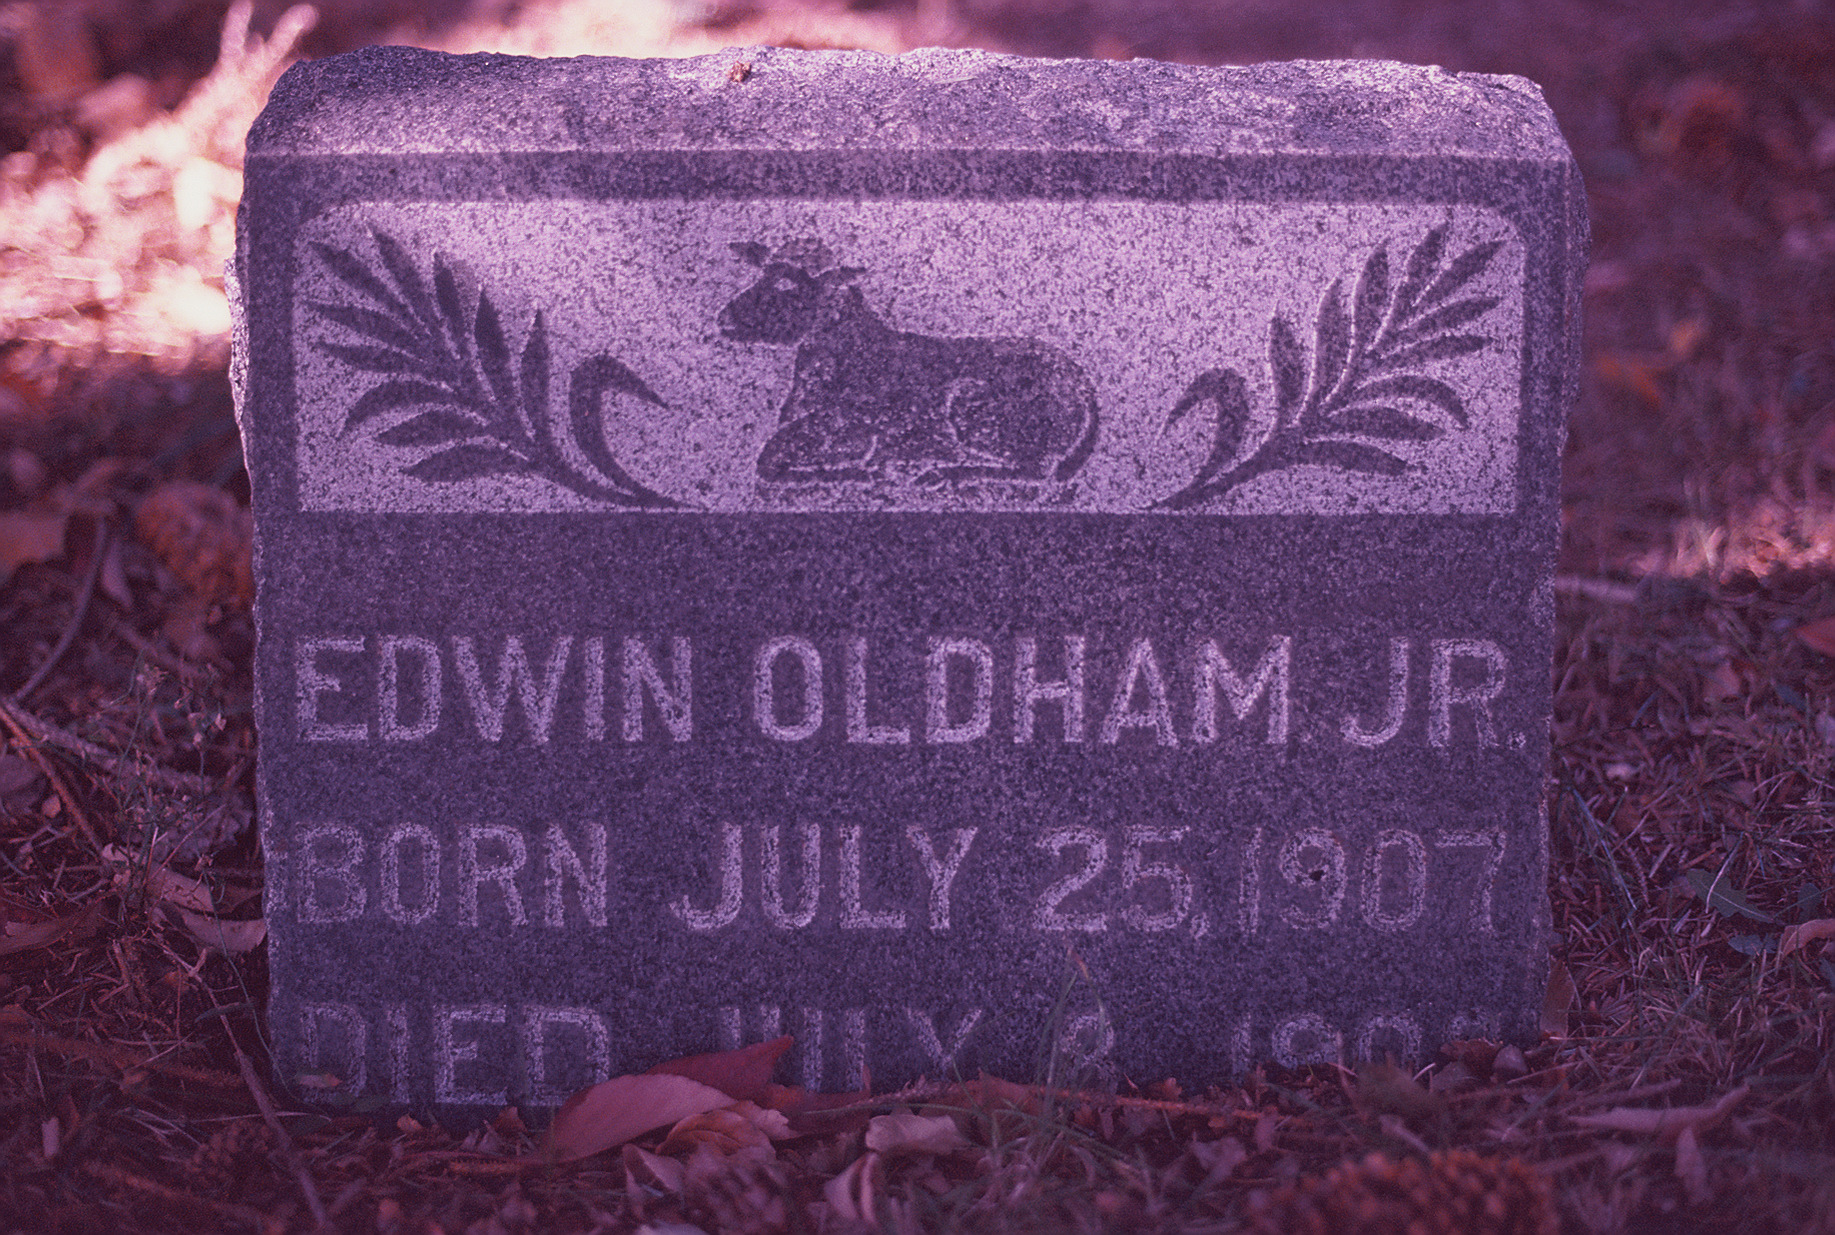
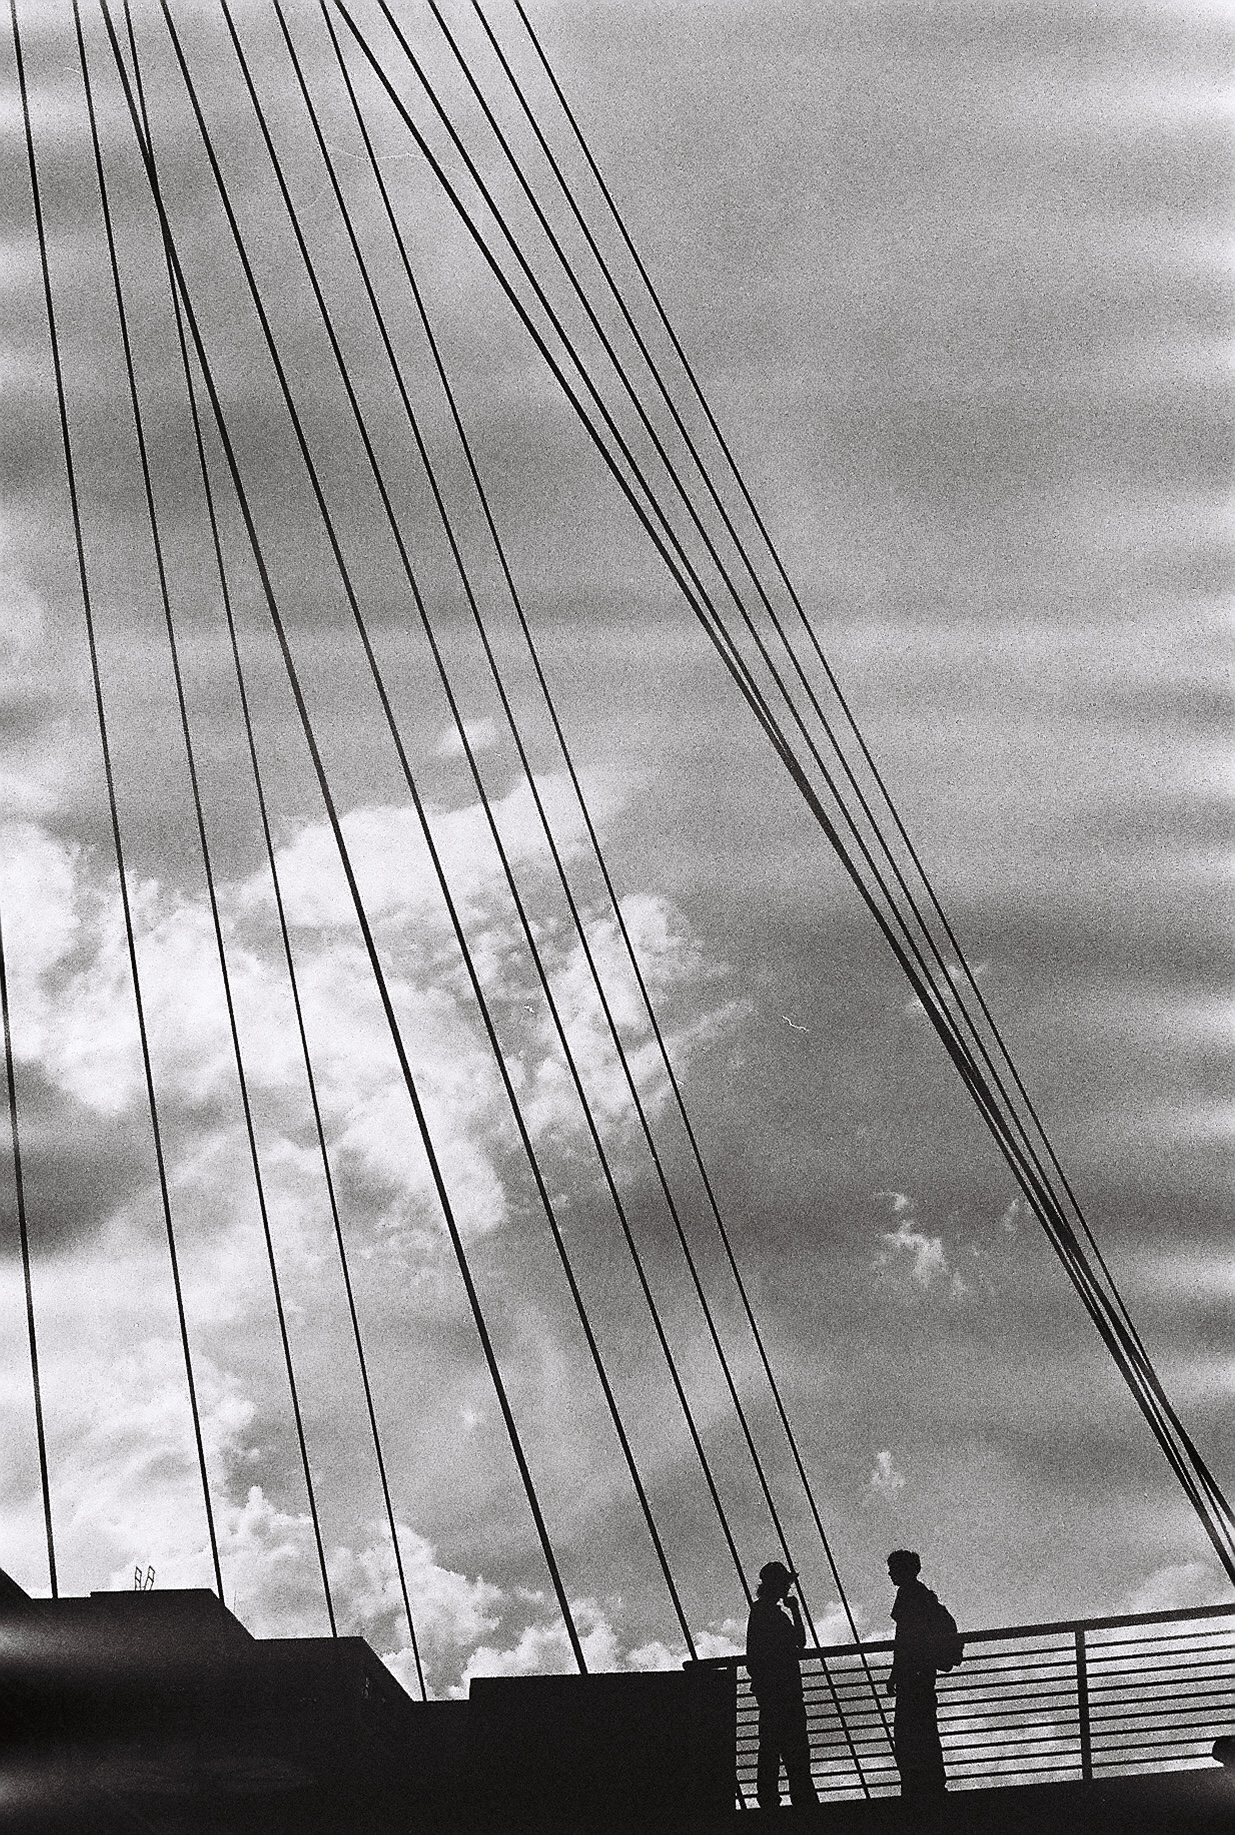
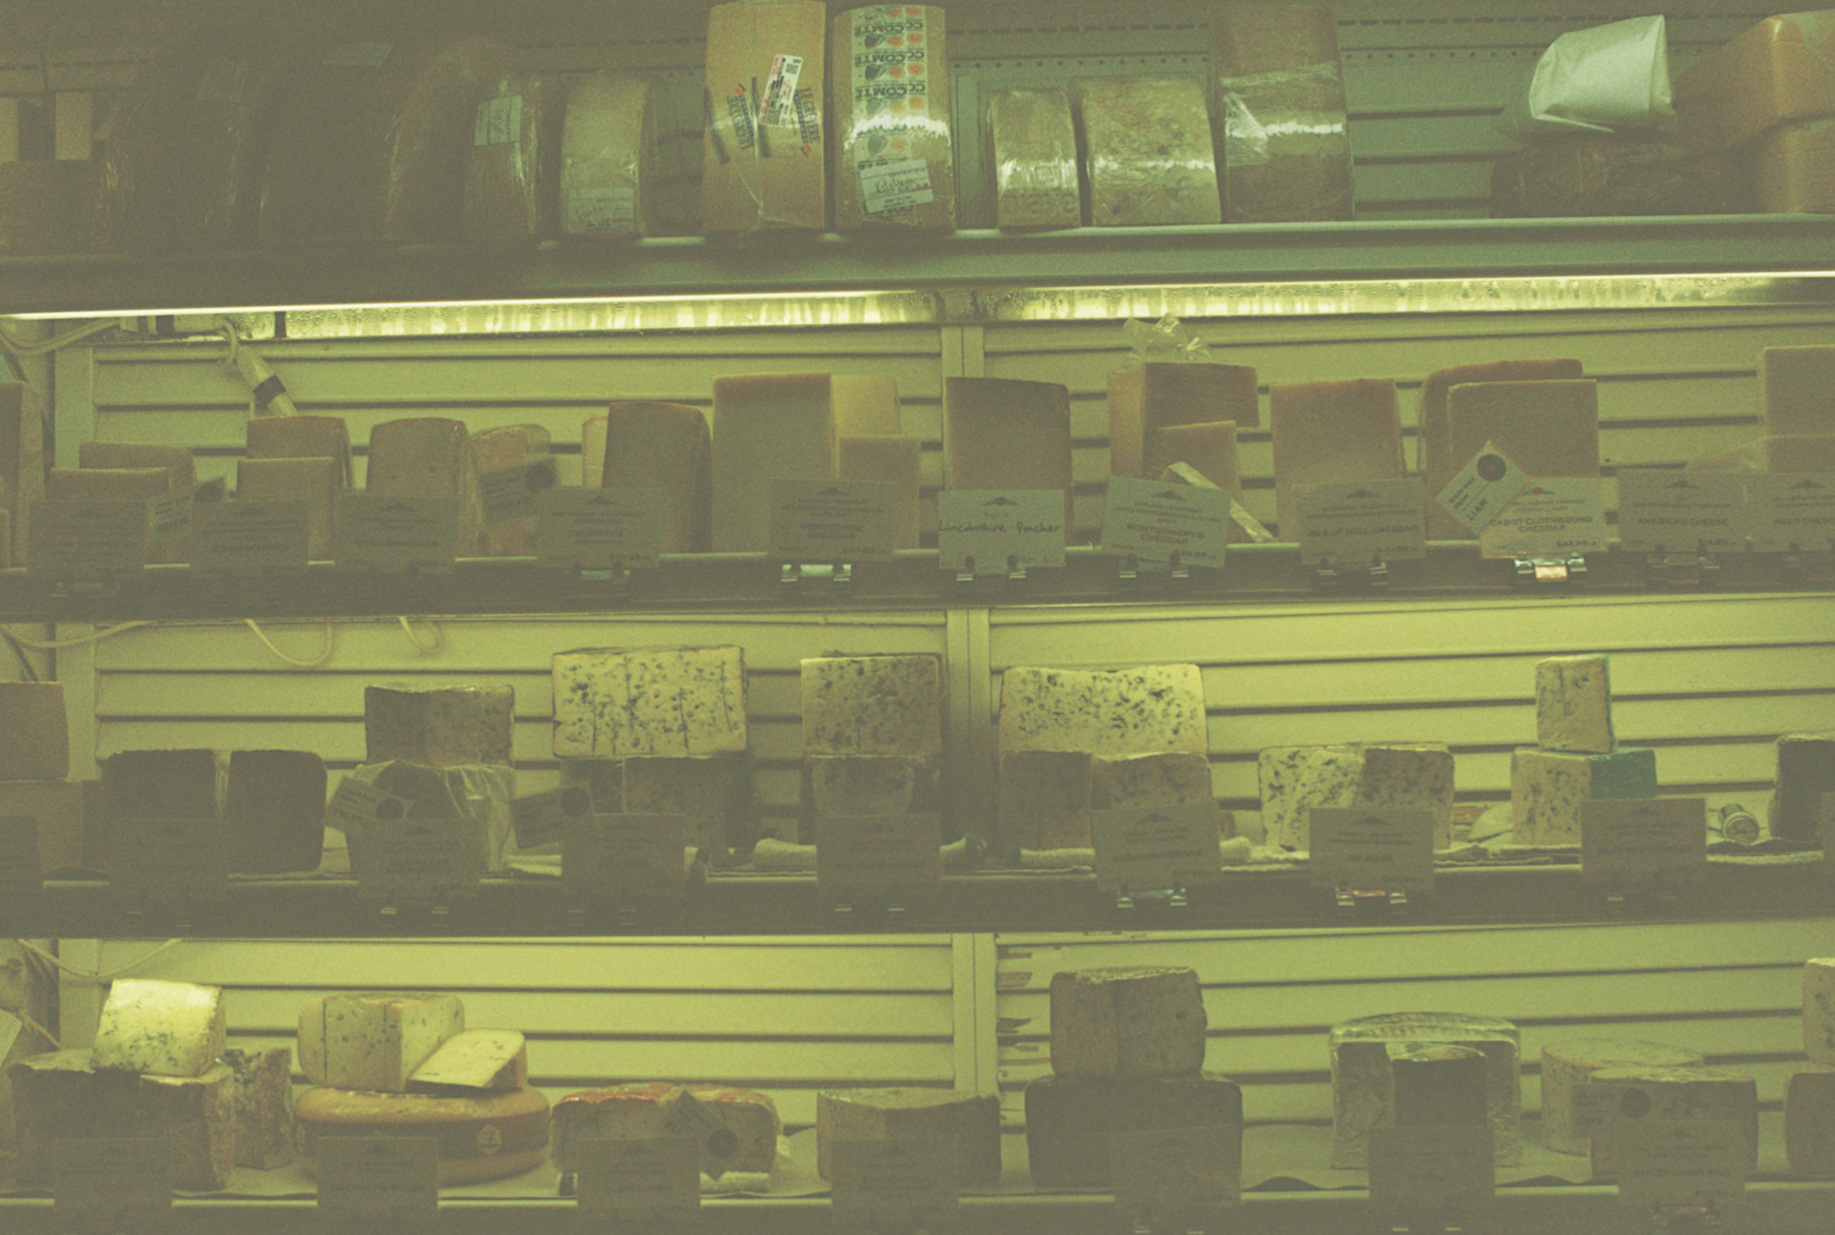
Some shots miraculously look pretty good. I have compiled them here:

Street Candy ATM 400 B&W

Black and white photography has historically been something that I don’t resonate well with. While I love the beautiful high contrast of Ilford film stocks, or the weird experimental nature of techniques like B&W IR photography (See Dracula 60 post), I have always had a much deeper connection to halation, light bloom, and over-saturation. A notable exception I found to my preferences of color over B&W film stocks is the Street Candy ATM 400, which added a deep, mysterious, special atmosphere to my images.

Things get old

Images off of my roll of film have a dirty, grainy, aged feeling to them. Ignoring the dirty nature of the B&W dark room we get images developed from (seriously every time we get film back from them, there’s dust everywhere) and the weird stripes on every single image, there is a very obvious grain in all of the shots. I think this ‘feature’ actually adds a lot of atmosphere, nostalgia, or longing to the images. Modern cameras and film stocks are often so clean that this feeling can be challenging to convey in 2025, and I appreciate being able to make the stylistic decision to shoot more raw and viscerally.

The shots earlier on the roll of film were especially interesting looking due to small light leaks from the loading process. The light leaks appear otherworldly and almost supernatural, complimenting the style of the film nicely.

A Bright Day on the Oregon Coast

Additionally, there is a nice haze in each image due to the relatively low contrast of the film (compared to other more common film stocks for B&W). While it may not for everyone (or everyday applications), the shots feel vintage and timeless. This image was taken on a clear, sunny day at the Oregon Coast. Despite the high(er) ISO for daylight, the film was still forgiving enough to prevent major blowouts from the sky or highlights in the water.

The best shot on the roll was this image of Heceta Head lighthouse. There was a lot of variation of light conditions where I was standing due to the clear blue sky contrasting agains the shadowy areas produced by the surrounding trees. Regardless, I love the drama of the silhouetted trees against the brighter sky, with the beautiful lighthouse peaking behind the hill. I would increase the exposure a hair if I got a second chance to take the shot, but overall I am quite pleased with the image in conjunction with the awesome stylistic direction of the film stock.

Contrasty subjects still look very good on the film, despite the overall film being more compressed than more standard B&W options. I like to think that the lack of prominent highlights/white leaves a feeling of danger or uneasiness. For example, this image was just of 4 old friends hanging out in camp chairs at the beach, but the final image feels much more esoteric and empty.

Some experimental shots

I was curious what shades of grey would be most prominent in an image of just the water and the sky. The texture of the highlighted portions in the water is hypnotic, while an ominous lens-flared moon looms over the ocean.

Silhouetted subjects such as these flowers look excellent against the clear-gray sky, without the sky or highlights excessively blowing out the image.

The old, grungy vibe of the film makes for compelling images of unsettling subjects, including these corvids perched on a power line, waiting to steal your fish and chips.

Conclusion

Street Candy 400 ATM is a real treat to shoot on. I was expecting high-quality, boring, professional-grade black and white images, but instead received very interesting, messy photos. This film stock is exactly what I have been looking for to use in a couple of projects and I will keep it in my back pocket for a rainy day.

Analog Infrared Photography Dracula 60

Not long ago, I discovered the practice of infrared (IR) photography. It is a fascinating practice that allows IR light to pass through the camera and onto the final print. The results are generally very unexpected and have an almost haunting quality to them. If you shoot color, you notice that some objects look normal, while others reflect either the wrong color or shift to black and white entirely. In black and white, you notice extreme shifts in the intensity of the black or white values (or black/white inversions altogether), producing a print that is often extremely high contrast. Naturally, discovering this process got me really interested in figuring out how to achieve experimental IR prints without buying a bunch of extra gear.

A precursory search revealed many modifications you can make to a standard digital camera to allow the camera to capture infrared (namely the removal of IR blocking filters and installation of replacement blue filters to allow IR sensitivity). But, as someone who just owns a couple of analog camera bodies and a fridge full of film, I was wanting to see what IR capabilities a film camera could have. After checking around, the process seemed extremely simple; all you needed was an infrared filter for far red wavelenghts (720 nm or so) and IR sensitive film. As it turns out, there are a few film stocks with IR sensitivity including Ilford SFX 200, Rollei infrared, and Dracula to name a few. Coincidentally, I’ve had a roll of Dracula 60 sitting in the back of my fridge for months and had no idea it was IR sensitive, so I opted to experiment on it with IR. All of the images below were taken in Moab, Canyonlands National Park, and Arches National Park using my OM-1N. None of the images have been edited.

Extremely High Contrast

After checking the results from the roll of film, I noticed that the BW images that I took were much higher contrast than usual. This is likely due to the camera capturing more light than expected in some images because of its ability to collect light non-visible to us. In the print below (which was just a photograph of an interesting red boulder I found in the Big Bend Bouldering area) the BW contrast is extremely skewed from what it should have been due to capturing IR light, which makes it challenging to determine what the subject of the image even is. The result is a very interesting image, impossible to discern any details and offering no place for your eyes to rest.

In addition, some subjects such as my fiance’s dark green car become extremely contrasted to the brightly-shifted foreground/background. I think this is because the gray value of the road has shifted far brighter than it should have been, making the car appear to be far darker than it actually is.

Dark Skies

Another trend I noticed was the tendency for the skies to shift very dark (even on prints taken in broad daylight). While this wasn’t apparent on every image I took on the roll of film, I did see this effect a couple of times. The resulting image feels eerie, almost as if the image was taken at night but the lighting is all wrong.

As a side note, our local dark room for BW film development is often quite messy, leading to apparent dust or debris on the scans we receive. This is an extremely annoying phenomena sometimes, but actually led to a very interesting image below, where the debris appears as stars against the darkened sky.

General Ethereal Qualities

Due to the extremely intense 720 nm filter I was using to achieve infrared images which caused me to lose 3+ stops, I opted to ditch my UV filter to try to gain back a little bit of control on my camera. Keeping that in mind, I noticed a bit of a ‘otherworldly’ and vignetted feeling in a couple of my images that featured subjects very far away. My hypothesis is that the extremely contrasted nature of images reduces the information about the subject in the final print. This causes a slight feeling of uneasiness, confusion, and disorientation.

Additionally, some subjects such as the mountains in the far background below, pick up an eerie glow against the dark sky.

Conclusions and Future Work

Honestly, I had a lot of fun dissecting these images after getting the scans of the negatives back. I had really low expectations for this experiment, but feel like I got some awesome prints back. In terms of shooting the images, however, I had a horrible time. The 720 nm filter aggressively obscures the viewfinder, rendering it very challenging to take an accurate shot. It feels like shooting through a sheet of welding glass, even in the hot, UV-intense Moab sun. Because of this, I will reserve IR photography for rainy days (or projects where it is the best tool for a print). If I could go back and do it again, I would ditch the Dracula film for something with a higher Iso such as Ilford SFX 200 to compensate for the drastic loss in stops caused by the 720 nm filter. Additionally, I would like to do this again in color, but the IR color film stocks are all either discontinued or really expensive (like 50 dollars or more per roll). Maybe a company will release a new color IR film soon due to the heightened interest in analog photography.

Ektar 100 Experimentation

Ektar 100 is one of my favorite summer film stocks due to its high saturation when slightly overexposed, as well as relatively low iso (allowing shots to turn out okay, even in the blistering Colorado heat). Ektar is also a super common film stock, with few frills (ie. it isn’t a super experimental film stock that heavily impacts the final print like some other –more crazy– boutique film stocks). Because of the relatively easy-going, beautiful nature of Ektar, as well as its interesting reactivity to over-exposures, I spent a few afternoons attempting to take some more experimental shots on my OM-1 camera with a 50mm lens and polarizing filter. Most of these images were taken near Wall-street in Four Mile Canyon, though some were also taken off of Valmont in Boulder. All of these images are raw as well.

Color shifts

One of the first things I attempted, was slightly detaching the lens of the camera from the camera body, and then taking an image. I noticed that as soon as you unlock the lens from the body, the light meter will stop working properly, so meter your light first. The first shot I took was of a hill full of burned, dead trees. I took two identical shots, one with the lens attached correctly and one without.

I was expecting there to be more artifacts from light leaks or degradation to the film altogether. I did not expect the film to color shift green. In addition to the major colorshift, the added distance between the body of the camera and the lens pulls the image slightly out of focus, producing a more ‘liquid’ effect. This is best seen in the bottom right of the print with the yellow flowers.

I took a similar pair of shots at a different hill featuring power lines (my favorite) and achieved very similar results.

The light leaks producing the color shift also increases exposure, possibly up to 1-2 full stops. This can be seen in the fine details of the power lines and the blow out of cloud details on the right. In the future, I want to try this again but more artistically and on different film stocks.

Reflections

I wanted to particularly capture images from reflected light using this roll of film. I did my best to find reflection sources, but found the exercise to be extremely challenging. What I did find were several traffic mirrors, mirrors on old cars, and reflections in the rear window of my car.

Using a polarizing filter, I photographed the sky reflected by my rear car window. I attempted to shoot with the lowest F-stop the light would allow in an attempt to blur out the inside of my car. Interestingly, I found that the focal point for some parts of the sky was pretty similar to some objects in my car, including the passenger seat and parts of the door handle. The image is interesting and feels a bit like a double exposure in that its hard for your eyes to find satisfying parts of the image to rest.

I attempted a shot using the mirror of an old truck to capture reflected light through the mirror, however, I found that the image in the mirror was far too underexposed in comparison to the rest of the image. Additionally, I wish that the mirror was framed better, as the tilted angle makes it hard to achieve any sense of harmony in the print. Of course, photographing the mirror dead-on would result in a print containing the image of your camera, but maybe there is a creative way to achieve this shot in a more harmonious way.

Other reflection sources I found included a curved mirror along the road, used for seeing oncoming traffic around the corner. The print feels simultaneously familiar and unfamiliar at the same time– almost like you are intoxicated or having a hard time keeping track of your surroundings. The mirror did produce a slightly blurry, slightly overexposed print compared to the image I saw in the viewfinder, but overall I enjoy the alien simplicity of the shot.

Saturation tests

While less overtly experimental, I wanted to better benchmark the strong saturation of overexposed Ektar 100. To achieve this, I tried to find strikingly saturated areas or objects I would not typically photograph. including the tail-light of a construction truck, old rusted metal, and graffiti.

The tail-light was an excellent shot, as the saturation is further emphasized by the mostly grayscale surroundings. The red gleams as a beacon of hope in an otherwise dark and dreary landscape. I can’t help but feel a little sad looking at this photograph.

Other sources of saturation included graffiti on the back of signs, as well as on the sides of brick walls. I found the colors to pop, especially the lighter blue and red markers/paint (which makes sense because ektar is known for strong saturation in the greens and reds.

Interesting shots

Of course, one cannot help but shoot when they encounter an interesting subject or event. The remaining shots are less experimental, but are interesting shots on the same roll of film. If anything, these shots can better benchmark what to expect when shooting on Ektar 100 normally. I find that in many of these shots, the sky becomes a pleasant light-sky blue, even when polarized. The clouds (if present) typically float on top of the blue sky, as if they were painted in.

Conclusion

Ektar 100 is a really interesting film stock, and great for experimenting with. Raw, it carries a light, playful nature to it. When pushed to its limits, however, it can be a really cool vehicle for exploring unconventional photography techniques. I hope to explore the film stock much more in the future, and continue to catalog interesting ways to creatively influence a print– regardless of the source material.

A Day in the Cemetery on Old Kodachrome

Back in the day, electron microscopy needed to be done with on film. As a result, nearly every EM lab would have to be retrofitted with an adjacent dark room to develop and process all of the film produced in the data collection process. When I started working at the cryo-electron tomography center at CU Boulder, I ended up discovering an old darkroom that was used just for this purpose back in the 80s, 90s and into the early 2000s. It was really dirty, with lots of old junk on the shelves and chemicals caked onto nearly every surface. After cleaning and organizing a bit though, I found a lot of fully-functional equipment including a very nice BW dichoric enlarger, enough chemicals to last for years (although I’m sure most of it is expired by now), along with many small instruments and tools for manipulating the film and development paper. In a small drawer, I ended up finding an old roll of 35mm kodachrome, with an expiration date of nearly twenty five years ago. After asking around the core about on the origins of the roll of film (35mm film was unusual to find because the old microscopes required large format films), I learned that a long-retired microscope technician was a photo-hobbyist and would key into the lab on the weekends to develop his personal shots. I thought for a while about what to use this special film on. The film belonged to a bygone era, with all of the chemicals and halides long passed for any decent photographs. I felt that the best way to honor this once-beautiful roll was to spend the day quietly reflecting and shooting on my OM-1 in the Lafayette cemetery.

After developing the film and checking the scans, it was very apparent that a major violet-biased color shift had occurred on all of my exposures–certainly due to the twenty five quiet years that the film lay forgotten in that drawer.

In addition to the obvious color shift, my exposure seemed to suffer quite a bit from the old film. Every shot appears to be 1-2 stops wrong, despite the metering reading pretty good light. I tried to overcompensate for the films age by pushing the development by several stops as well. Of course, I was mostly guessing on the age of the film based on the expiration date, but its possible that the film was much older than I thought it was.

I generally will minorly clean up the scans I get back from the dark room using GIMP 2.0, but I left these images raw. Maybe it was because of the rich history of the canister I found, or maybe I was too nervous to ruin the shots that were supposed to feel hollow, broken, or sad. On this roll of film, I also attempted my first double exposure, by guesstimating where the exposure frames were inside the camera. I didn’t even get close, but I did capture a very interesting shot of a wreath on one of the graves superimposed with the surrounding fall leaves, resembling fire. In a perfect world, I would have gotten the wreath sliced directly in half with the double exposure, but there will be plenty of other opportunities to clean up my double-exposure techniques.

In all, I am actually very impressed with the grain and clarity on the kodachrome, even two decades later. The exposures I got were detailed, clear, and crisp. If anything, it was very special to have such good quality film turn sour in such an interesting and beautiful way. I am very grateful for the unique experience.

As a final side note, nobody even had the chemicals to develop this stuff anymore. It took several months to get things developed and scanned due to having to ship these negatives off to a special lab for all of the downstream processes, which only contributed to the wonderful and mystical session I had with this film.